The lust I once had for gear is now gone. It’s not to say that I don’t occasionally think about making a purchase or that I’m not sometimes tempted by eBay. I’ve spent a fair share of time over at F/stop cameras as well, hoping to find something to satisfy a random camera craving. But for the most part my days of indiscriminate system switching and camera hoarding are over. There is, however, one future purchase that looms over me quite heavily: the Plustek OpticFilm 120. It’s a wish list item, certainly, and at it’s price point I don’t know when I’ll be able to afford it, but after a generous loan from Plustek I am convinced that this is something I’d like to own for myself and would be willing to pay the price tag for.
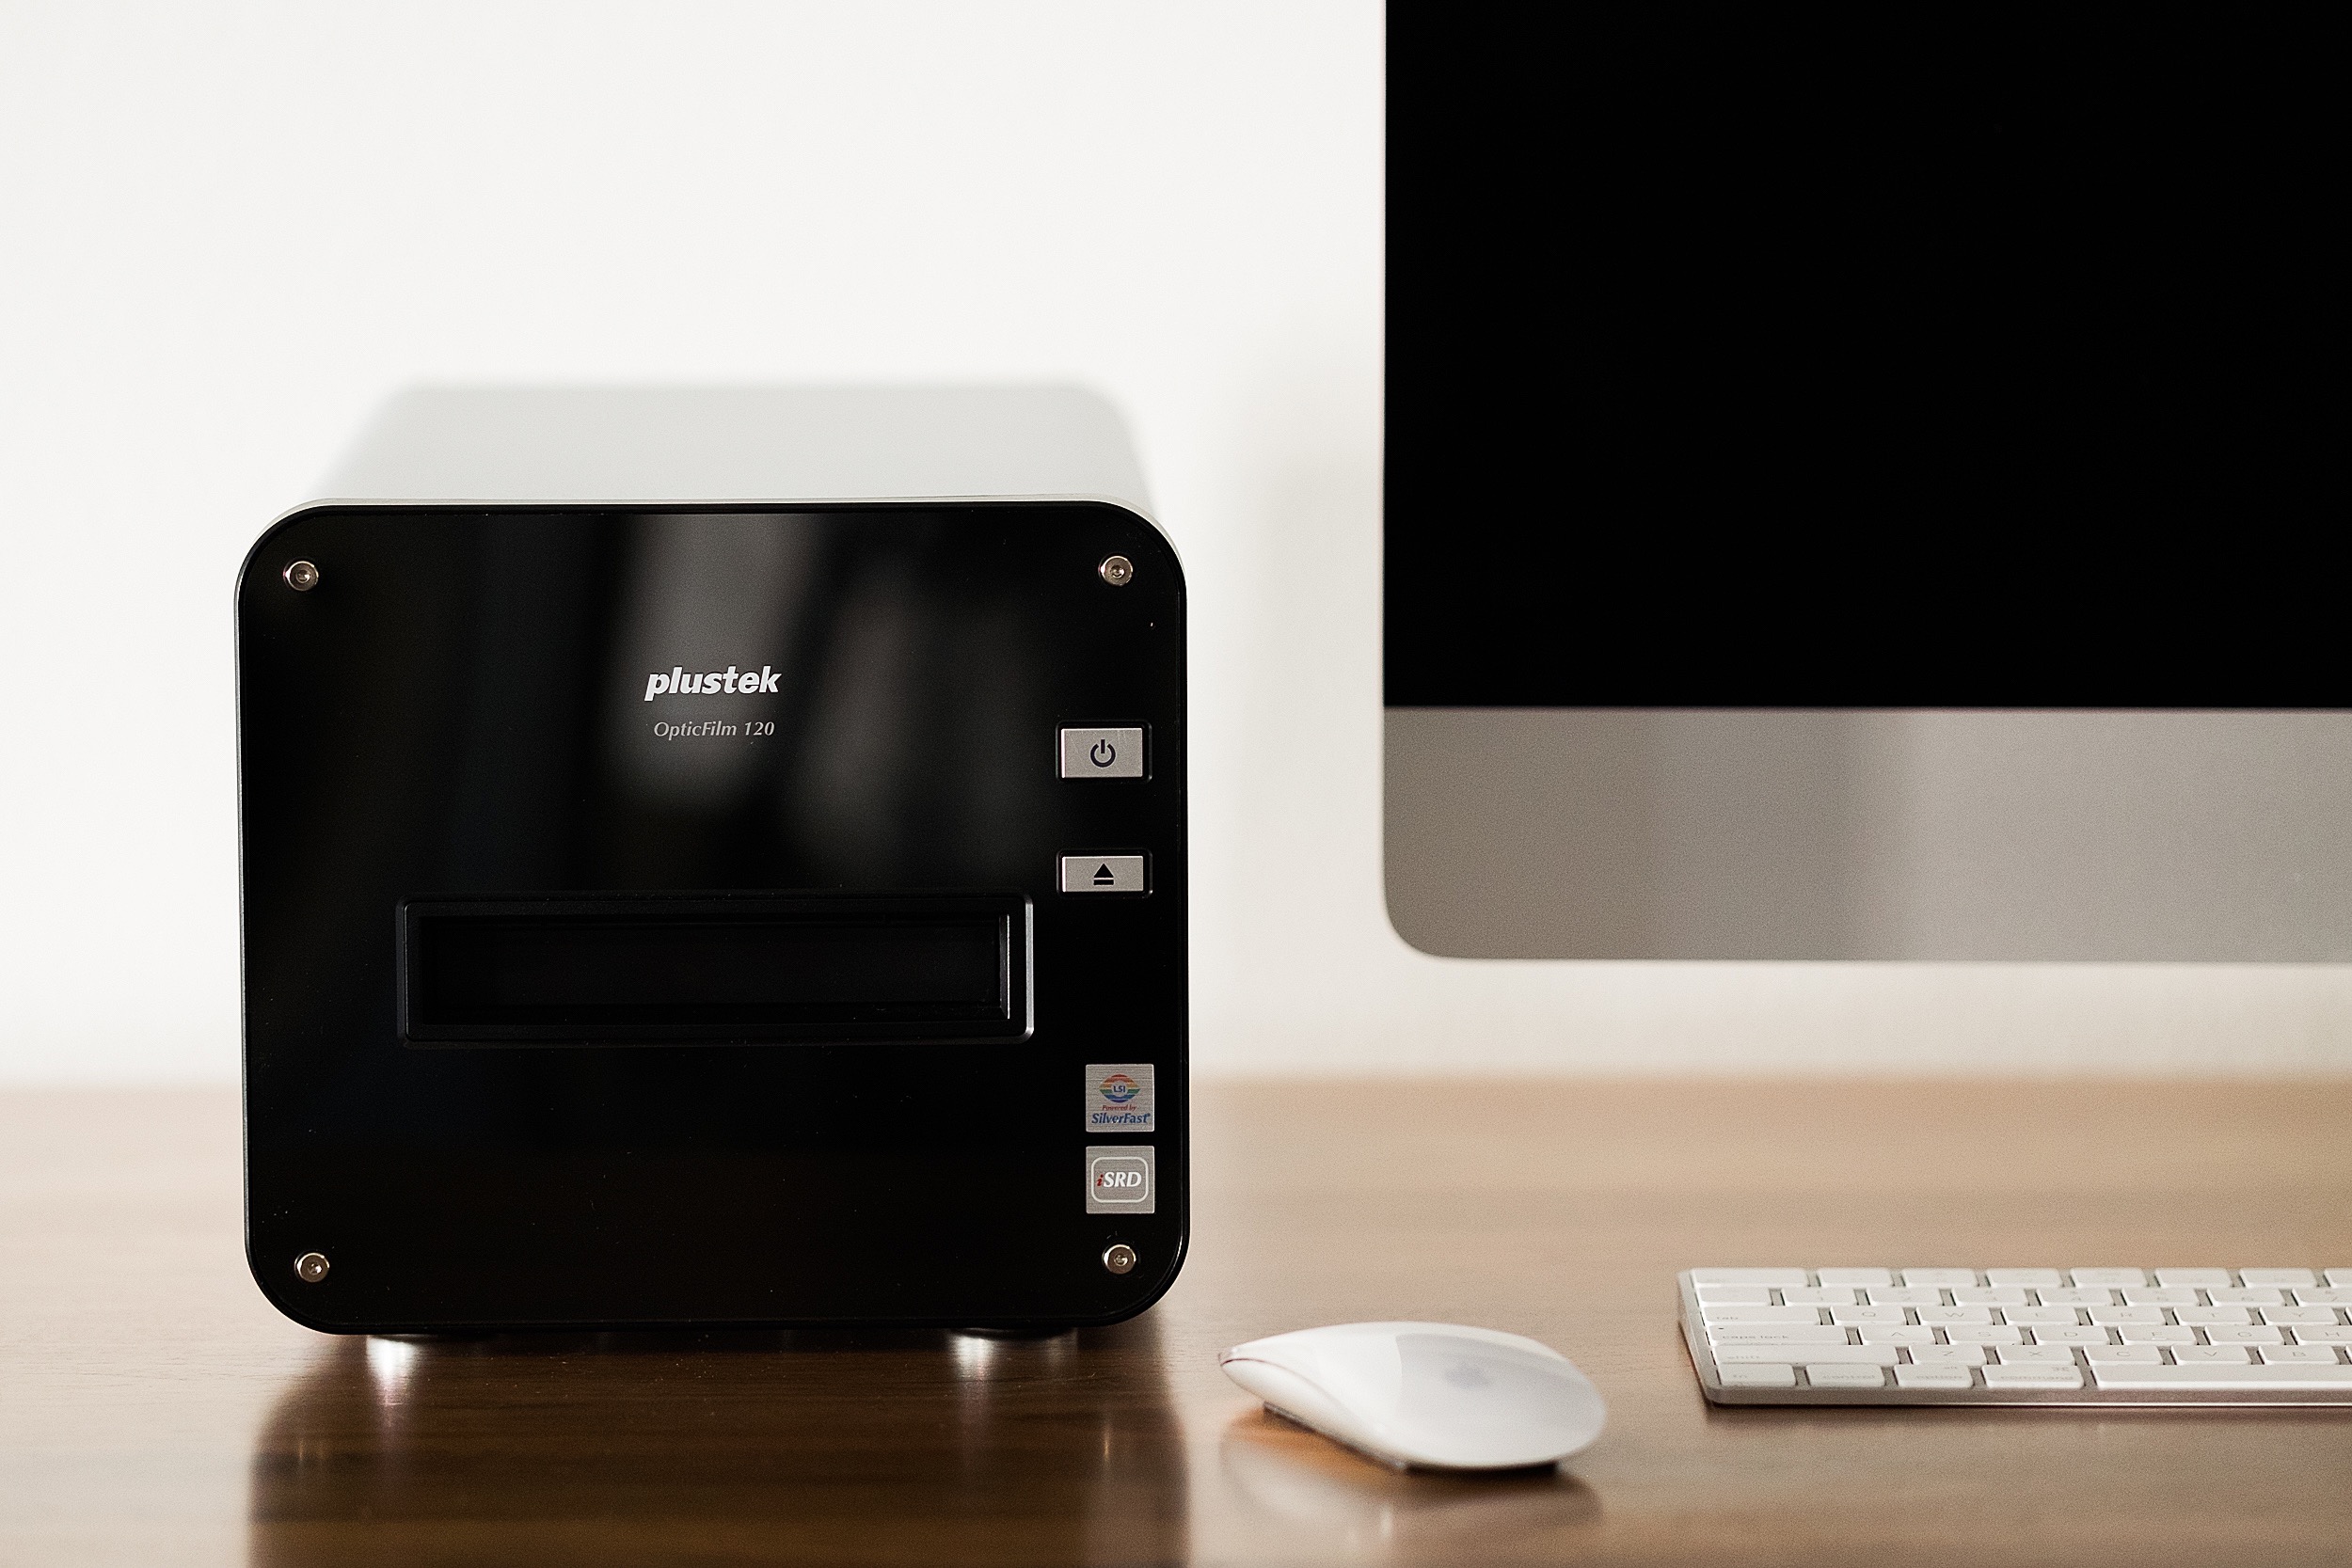
Plustek OpticFilm 120 | © Cameron Kline
A bit of background on the OpticFilm 120 for those of you who haven’t heard of it. Before I get to that I want to tell you that I won’t be getting highly technical here. I’d like to stick to a cursory overview of the scanner rather than providing you with a bunch of tech that you can read elsewhere. For the purpose of this review I’ll do my best to provide you a practical overview that you can use before seeking out this scanner for yourself. I won’t be talking D-Max and I won’t be talking about actual resolution, so if you want to get technical, it’s not going to happen.
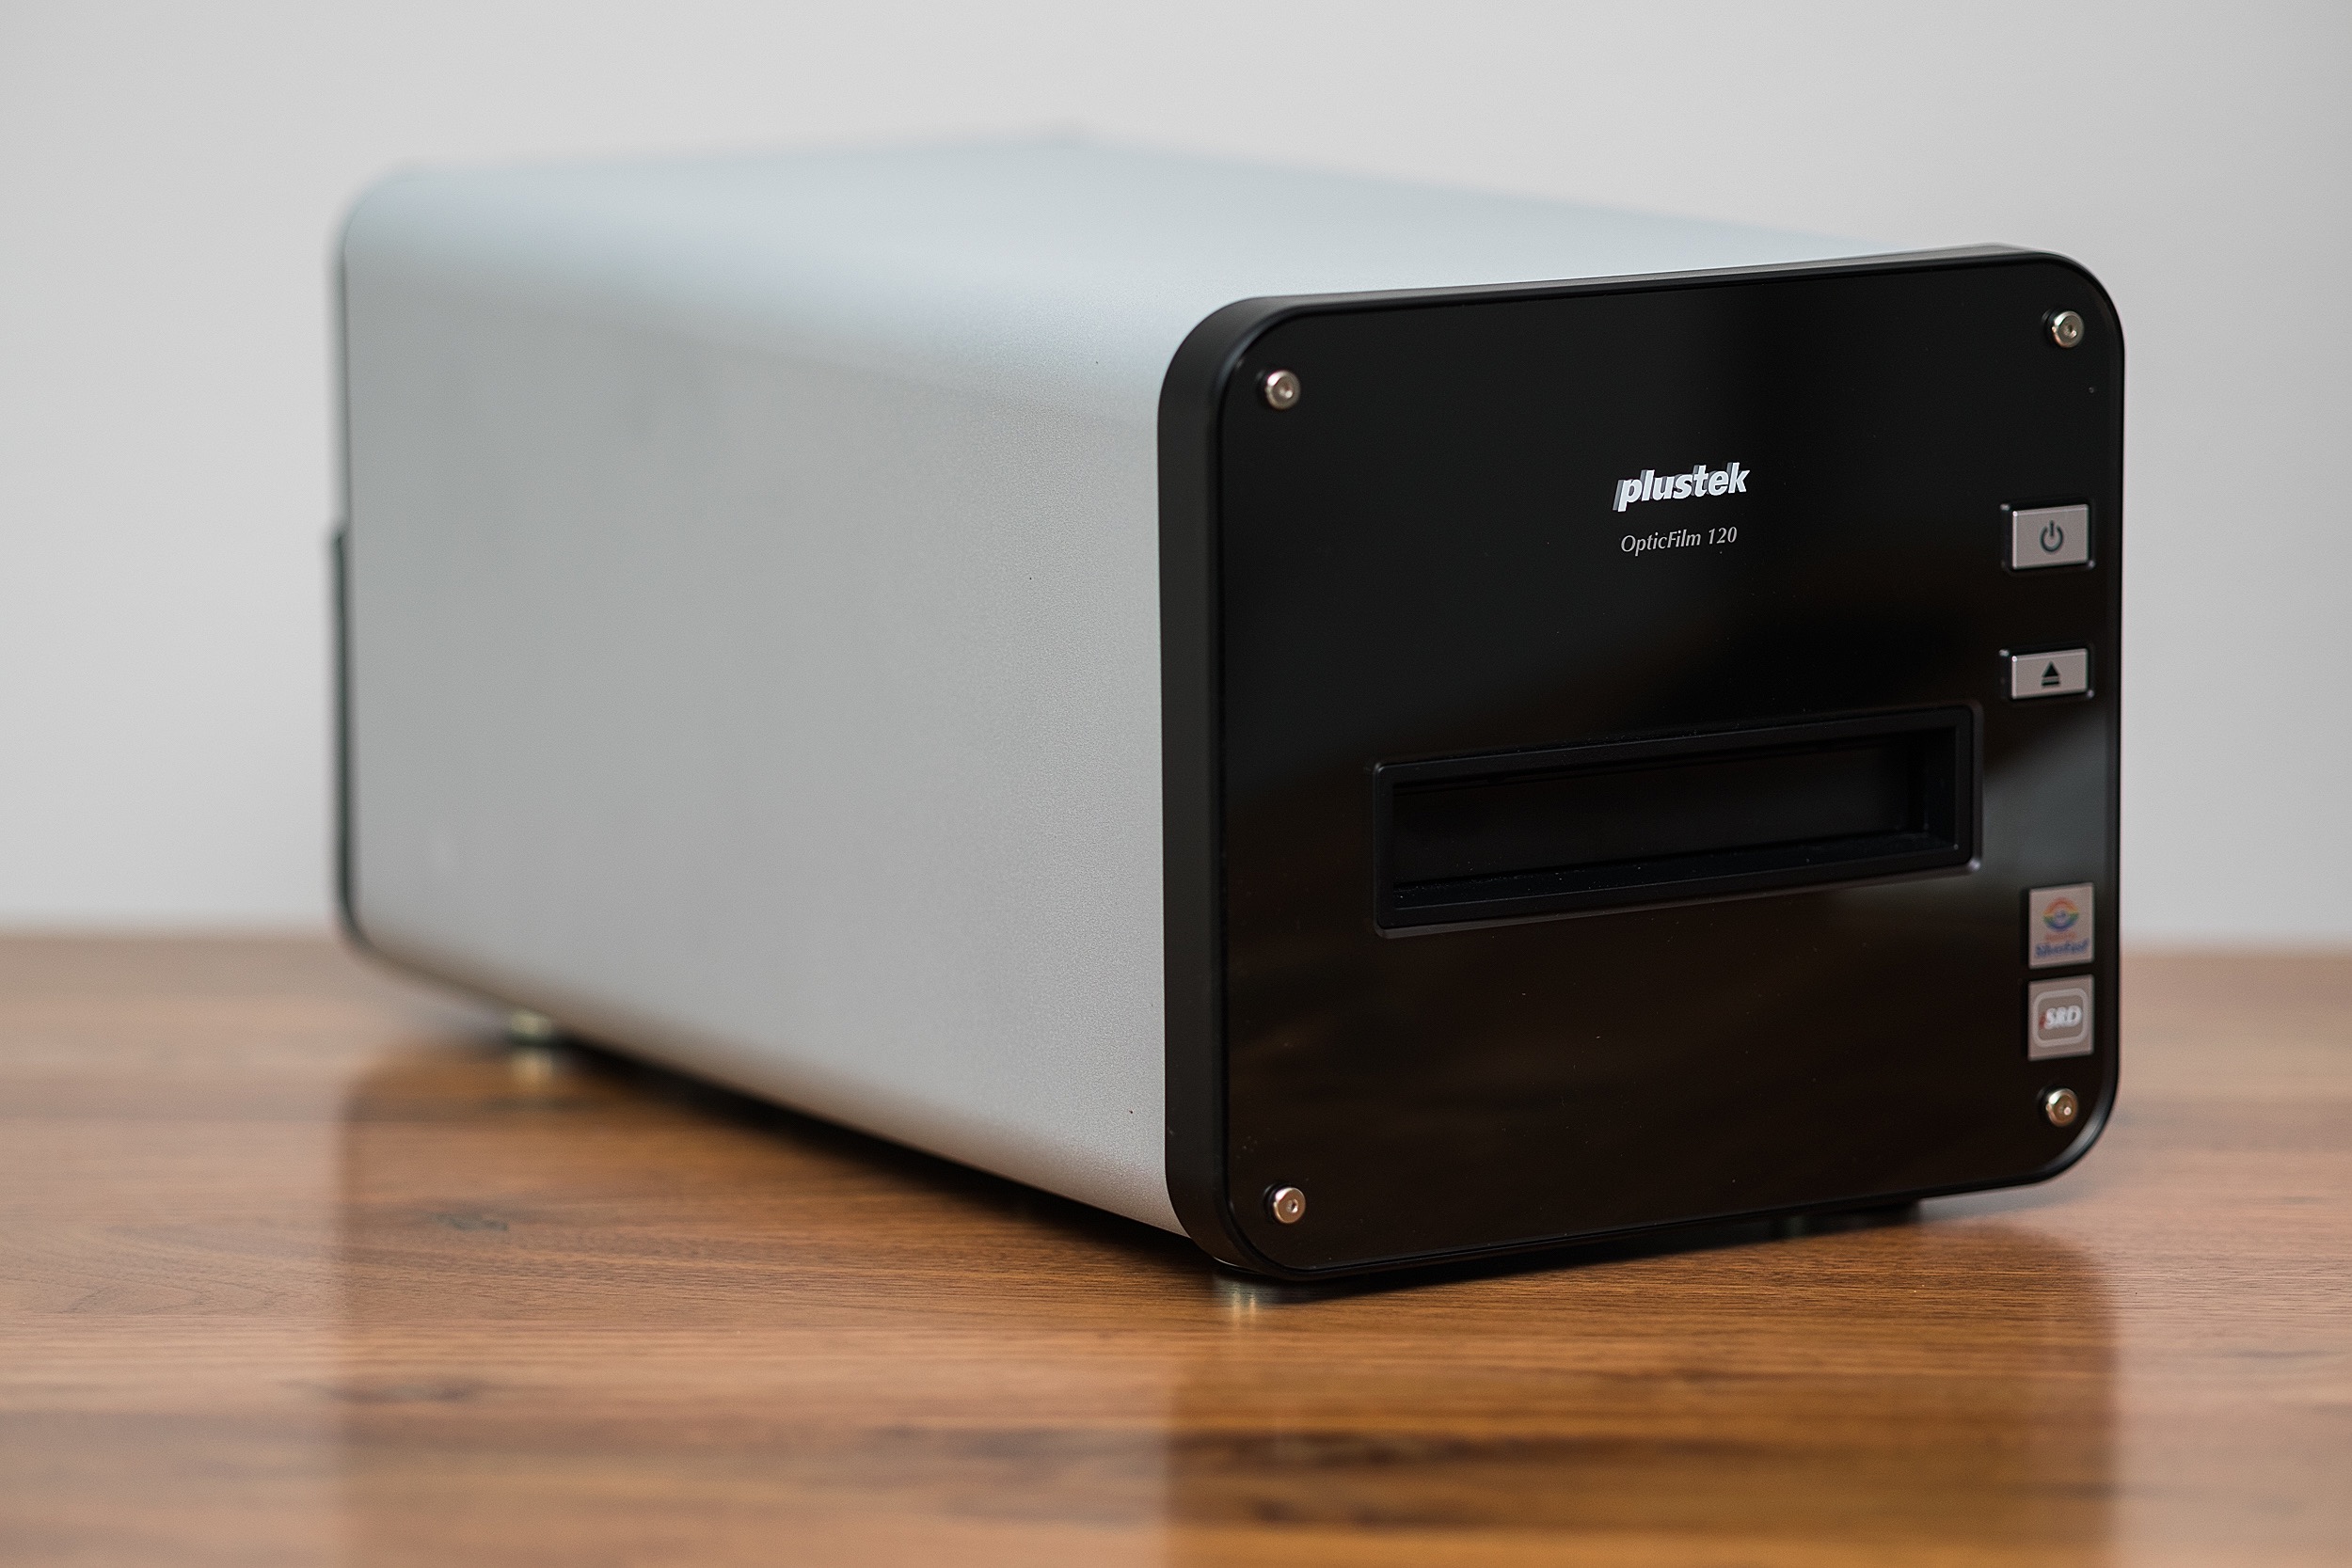
Plustek OpticFilm 120 | © Cameron Kline
The OpticFilm 120 is a dedicated film scanner that’s capable of digitizing negatives from 35mm up to 6x12cm. It’s the ideal solution, in my opinion for any photographer who does not need to scan prints and who is not shooting sheet film. If you’re shooting roll film then this is most likely the scanner for you if you want the ultimate quality. You could pay more for a Nikon Coolscan if you want to, but you won’t likely get a warranty with it and you probably also won’t be able to return it if you have an issue with it.
If you’re in the market for a dedicated film scanner there’s a few options out there, but most people will likely opt for a flatbed due to cost and flexibility. Flatbed scanners are a great option for photographers, but they do have some shortcomings. The most notable, for me, has been sharpness. Now, I am not a pixel peeper, but I am keen on making the sharpest scans that I can with what I have available. What’s the point in seeking out the best optics for my cameras if I’m going to settle for out of focus scans later on?
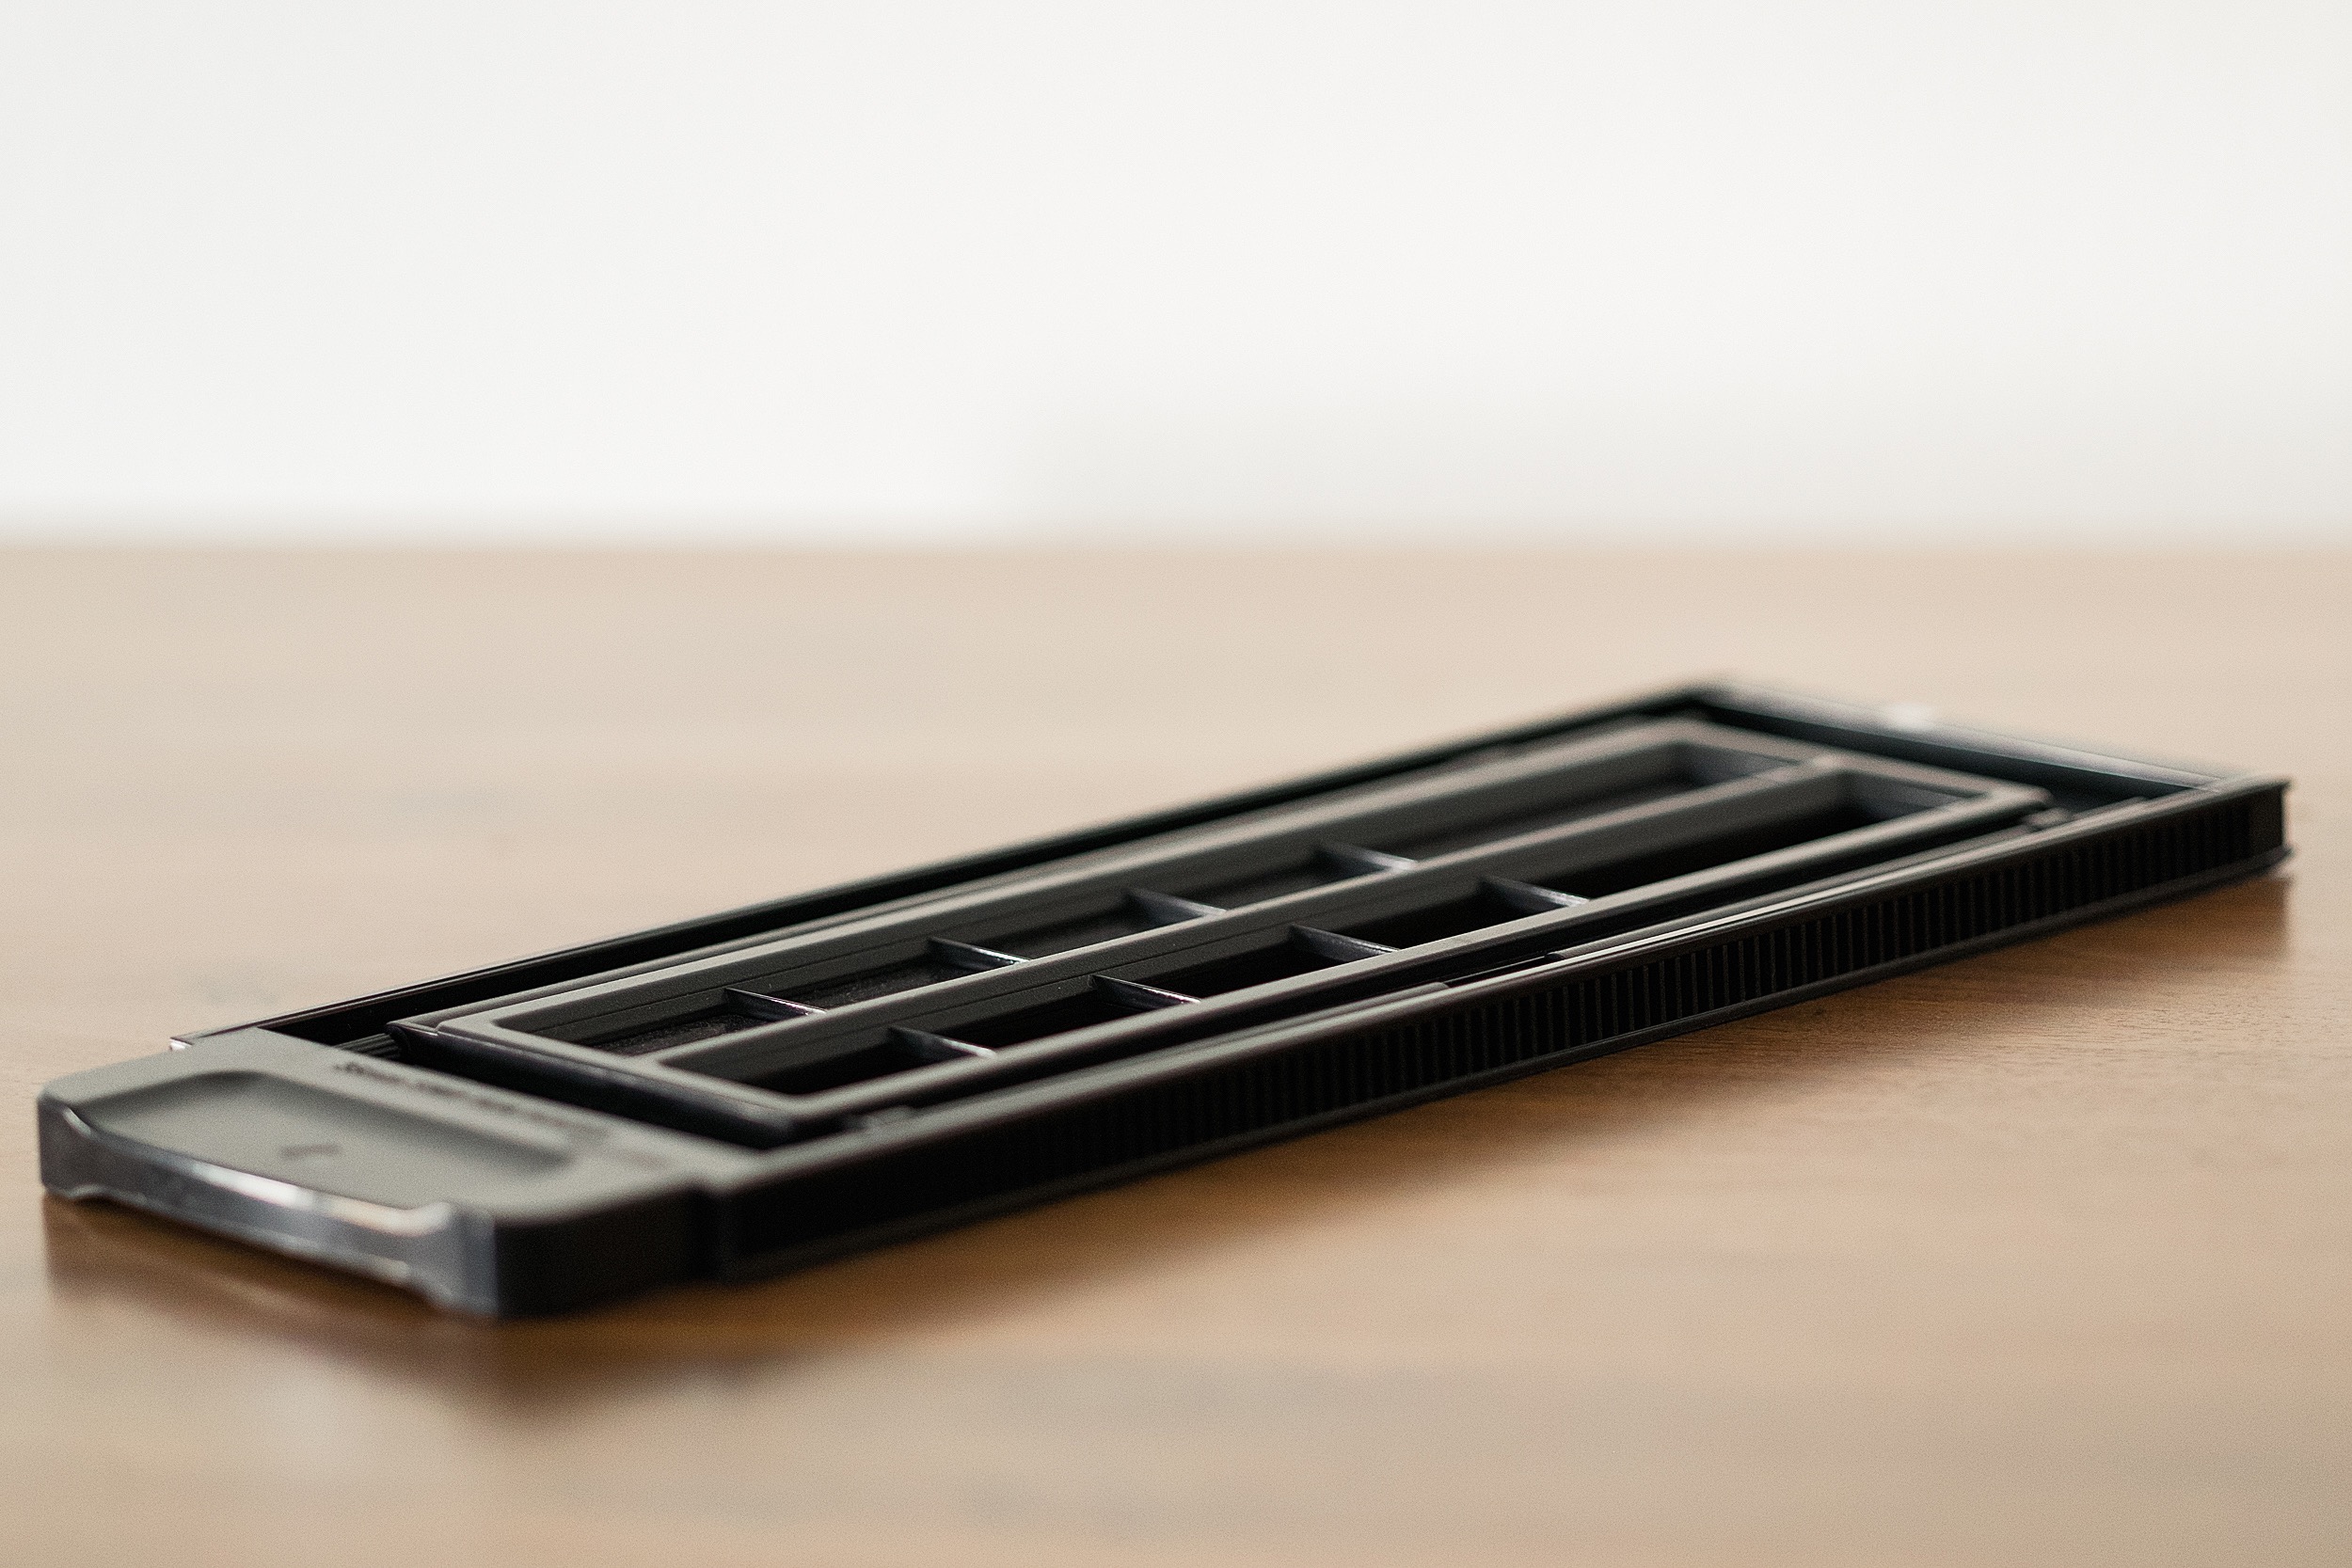
35mm scanning tray for the Plustek OpticFilm 120 | © Cameron Kline
I’ve used ANR glass. I’ve used better scanning holders. I’ve gone so far in my quest for good scans with a flatbed scanner that I actually had custom ABS holders made for the formats that I shoot most often. And while these worked pretty well, they were cumbersome to use with any sort of volume and on occasion the results were hit or miss. At one point I realized that I was wasting quite a bit of time trying to perfect something that, although important, wasn’t the reason why I photograph and so I made due with what I had.

Juan Soldado Altar, Tijuana, MX | © Cameron Kline
The first thing that got me excited about the OpticFilm 120 were the film holders. These film holders have been designed to provide the flattest film and therefore give you sharp results. These aren’t the flimsy holders you get with a flatbed. These are heavy duty holders that use a magnet to hold the top piece down over the film. It’s pretty clear when you open the packaging that the holders themselves weren’t an afterthought as they appear to be with flatbed scanners, but instead something that was designed to be integral to the unit and it’s appeal. The OpticFilm 120 comes with a number of holders to cater to most popular formats. In the package were holders for 35mm negative strips, 35mm slides, 6x4.5cm negatives, 6x6cm negatives, 6x7cm negatives, 6x9cm negatives, and 6x12cm negatives. Kudos to Plustek for including all of these with the scanner and not using their availability to gouge consumers after the fact.

Tijuana, MX | Provia 400X (Pushed 2 stops) | © Cameron Kline
So, on to using the OpticFilm 120. The scanner comes packaged with SilverFast which some people love and some people hate. I use this software in my daily workflow so for me it wasn’t problematic. If you buy this scanner SilverFast is in the package so you can learn to use it, or pair it with whatever third party offerings you find that will work. Though I use this software, and generally speaking like it, there were some quirks. The biggest of which was figuring out how to do a proper preview scan. This function is pretty buried in the interface, but once you find the Overview button in SilverFast you’re ready to get started. From here on out the scanner pretty much operates like anything you’ve used in the past with one likely exception.

Tijuana, MX | Provia 400X (Pushed 2 stops) | © Cameron Kline
Loading the film into the scanner was simple, but different than any scanners I’ve used in the past. Most of my scanning has been done on a variety of flatbed units and with my beloved Pakon. When loading the OpticFilm 120, the film is automatically fed into the scanner once you place the tray in the intake slot on the front. The scanner makes some racket when loading, but is only slightly louder than an average flatbed, if at all. From there the operation of the scanner is reliant on the software you choose to use so I won’t talk too much about that. If you’d like to read a review and user’s guide to SilverFast you can find that here on our site.

Eastern Sierras Near Mammoth Lakes | © Cameron Kline
The most important thing you should know about the OpticFilm 120 is about the quality of the output. Depending on your workflow your mileage may vary, but for me the quality of the scans I was able to turn out was excellent and I’ll share the short version of my workflow now.
First, I make a RAW scan of my file at a modest size. I don’t go whole hog on the sizing because I very, very, very rarely print large. In my lifetime I’ve only taken a handful of photos that I felt commanded anything larger than 12x18” in size. I use the ColorPerfect plugin inside of photoshop to invert the scan and I use the ‘save as’ command which allows me to preserve both files. I then import the tif into Lightroom and perform all of my adjustments before exporting a jpeg file for the web.

San Diego, CA | © Cameron Kline
“Oh, that’s so wasteful, all that diskspace, ugh. . .” I know, keeping the initial copies is slightly wasteful, but for me this is my digital negative. When I change my mind in six months about how I want to interpret the file I have the opportunity to do that. I could use the inverted tif to do this, but then I’m subject to the choices I made in ColorPerfect.

San Diego, CA | © Cameron Kline
The resulting files from the scanner are rich, gorgeous examples of how special film is. In my workflow they could replace lab scans, given their quality, with the only sacrifice really being the time it takes to create the scan. For my needs the OpticFilm 120 is about as good as it gets and I really can’t see any situation where I’d want more from a scanner than what this one offers. It’s rare that I get to use a piece of equipment that changes the way I think about my workflow, but for scanning at home, this is as good as it gets.
Connect
Cameron Kline is a Pacific Northwest editorial photographer. Connect with him on LinkedIn.