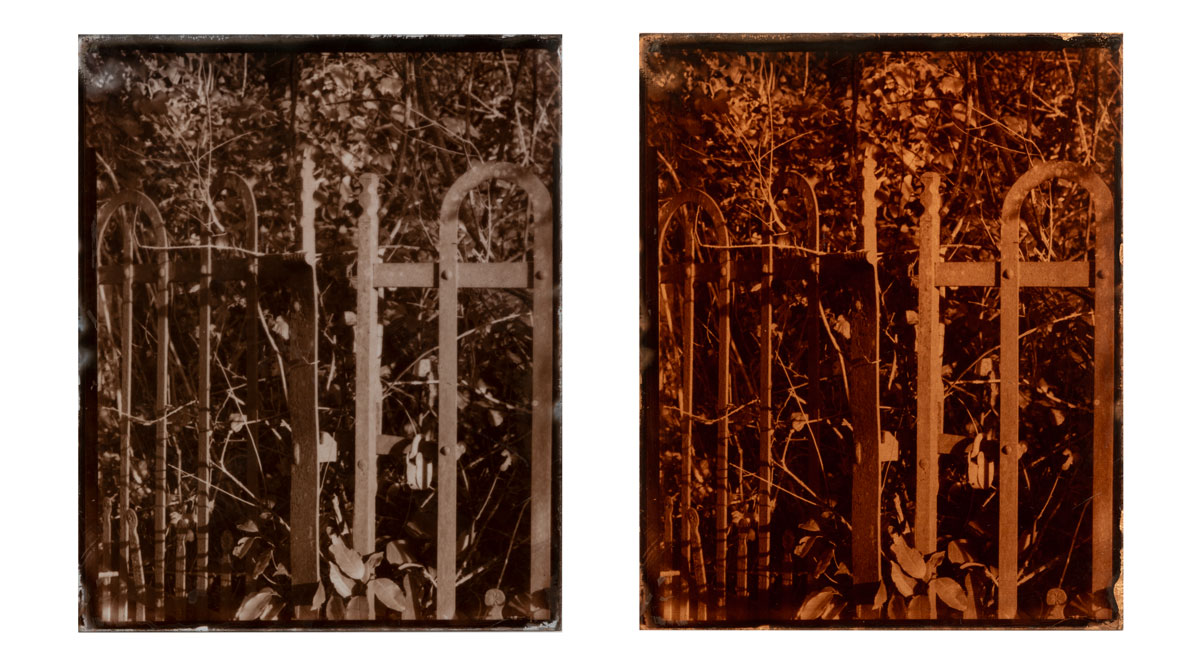
Embush’s Gate
4x5 glass plate orotone, Ilford FP4, 2 sec, f16
Peter O’Donnell, 2018
The modern Orotone can be created in a number of ways, the most popular using a coating of liquid emulsion on a glass plate with a gelatine base. This method produces some excellent results with a minimum of effort. Rollei produces an excellent product and an equally comprehensive set of instructions.
Rollei Black Magic is a light-sensitive silver. It can be spread on the most surfaces.
I went about it a little differently…
When it comes to learning a new process, I can be a bit of a pedant and will research as much of the history of a particular technique I can in order to get a better understanding. Orotones piqued my interest as the original process of creating a positive on a glass plate as defined by Niepce de Saint Victor (1805 –1870) was apparently lost in the French revolution. But researching photographic publications of the mid to late 1800s led me to two American photographers, Whipple & Black, who improved on the original process. John Adams Whipple (1822 –1891) is better known for his astronomical photography but like many of photography’s early practitioners, he was one of the true geniuses of the craft.
Whipple and Black's recipe is well documented along with an easy to follow technique for producing albumised glass plates. With a little conversion to today’s units of measure, their recipe when followed will allow you to produce plates that can be exposed in camera for a working negative of acceptable density or contact printed to make a positive. Because of the dramatically slow speed of the sensitised plate, using them in-camera proved to be quite impractical but interesting, to say the least.
With a little research you can easily find workable recipes and methods to all, the now, alternative processes
I began my love affair with photography shooting film and although we parted company in the mid-nineties, our relationship was rekindled again almost 10 years ago, firstly as a hobby, but now I no longer shoot digital for my own work, it’s all large format film and I am again, totally besotted. Once I started using film again that curious pedant in me led me to research and learn salt printing. Salt prints are a wonderfully honest image that has a simple understated beauty. I wanted to take this simplicity and apply it to the glass plate.
The basic process of creating an orotone is quite simple, but as with all alternative processes it does require some patience and tenacity and I’ll say it now: the cleaner you work, the better your result.
Firstly, a salted albumen solution is prepared. The older this solution is, the better. My current stock of albumen is well over a year old and perfectly usable. If you do not have the time to wait for your albumen to mature, you can use powdered egg white, but make sure you get it from a catering supplier and without any additives. Egg white sold as a protein supplement will usually contain additives that will not work.
It all begins with eggs and lots of them
Regardless of how you make your albumen solution, it is necessary to filter before use.
Filtering is essential to ensure a clean plate
Next, a glass plate is prepared by grinding the sharp edges of the glass and washing thoroughly. When dry, the albumen is flowed on the glass much like collodion. I do find myself usually having to employ the assistance of a glass rod to help with the coverage and also to remove any small bubbles or particles in the albumen. Once the plate is coated with albumen, Whipple and Black suggested curing over a naked flame but I use a hot plate instead, it works just as well, and I don’t get to burn my fingers.
The albumen is flowed on the plate
Cured and cooled, the plate is now ready to be sensitized. This is done by immersing the plate in a bath of an acidic solution of silver nitrate. The plate once immersed in the silver nitrate solution becomes light sensitive and must now be stored in darkness. One of the benefits of having an acidic solution of silver nitrate is that the plates can be stored for a few days before use, allowing you to prepare your plates in batches.
Exposures are made much like salt and albumen prints. The negative is placed in contact with the plate and exposed to UV light. The quality of your light will make a difference and if it's not raining, opt for natural light if you can. Exposure times are dependent on the density of your negative and light available. Forty minutes plus exposure times are not unusual for UV lamps and fifteen minutes plus for natural light.
When the exposure is completed, processing can begin. The plate is washed and then toned using a gold toner before fixing. Toning is essential, as even a weak fixing solution quickly erodes an image. When processing is completed you will have a glass plate positive image similar to a magic lantern slide.
Toning is essential
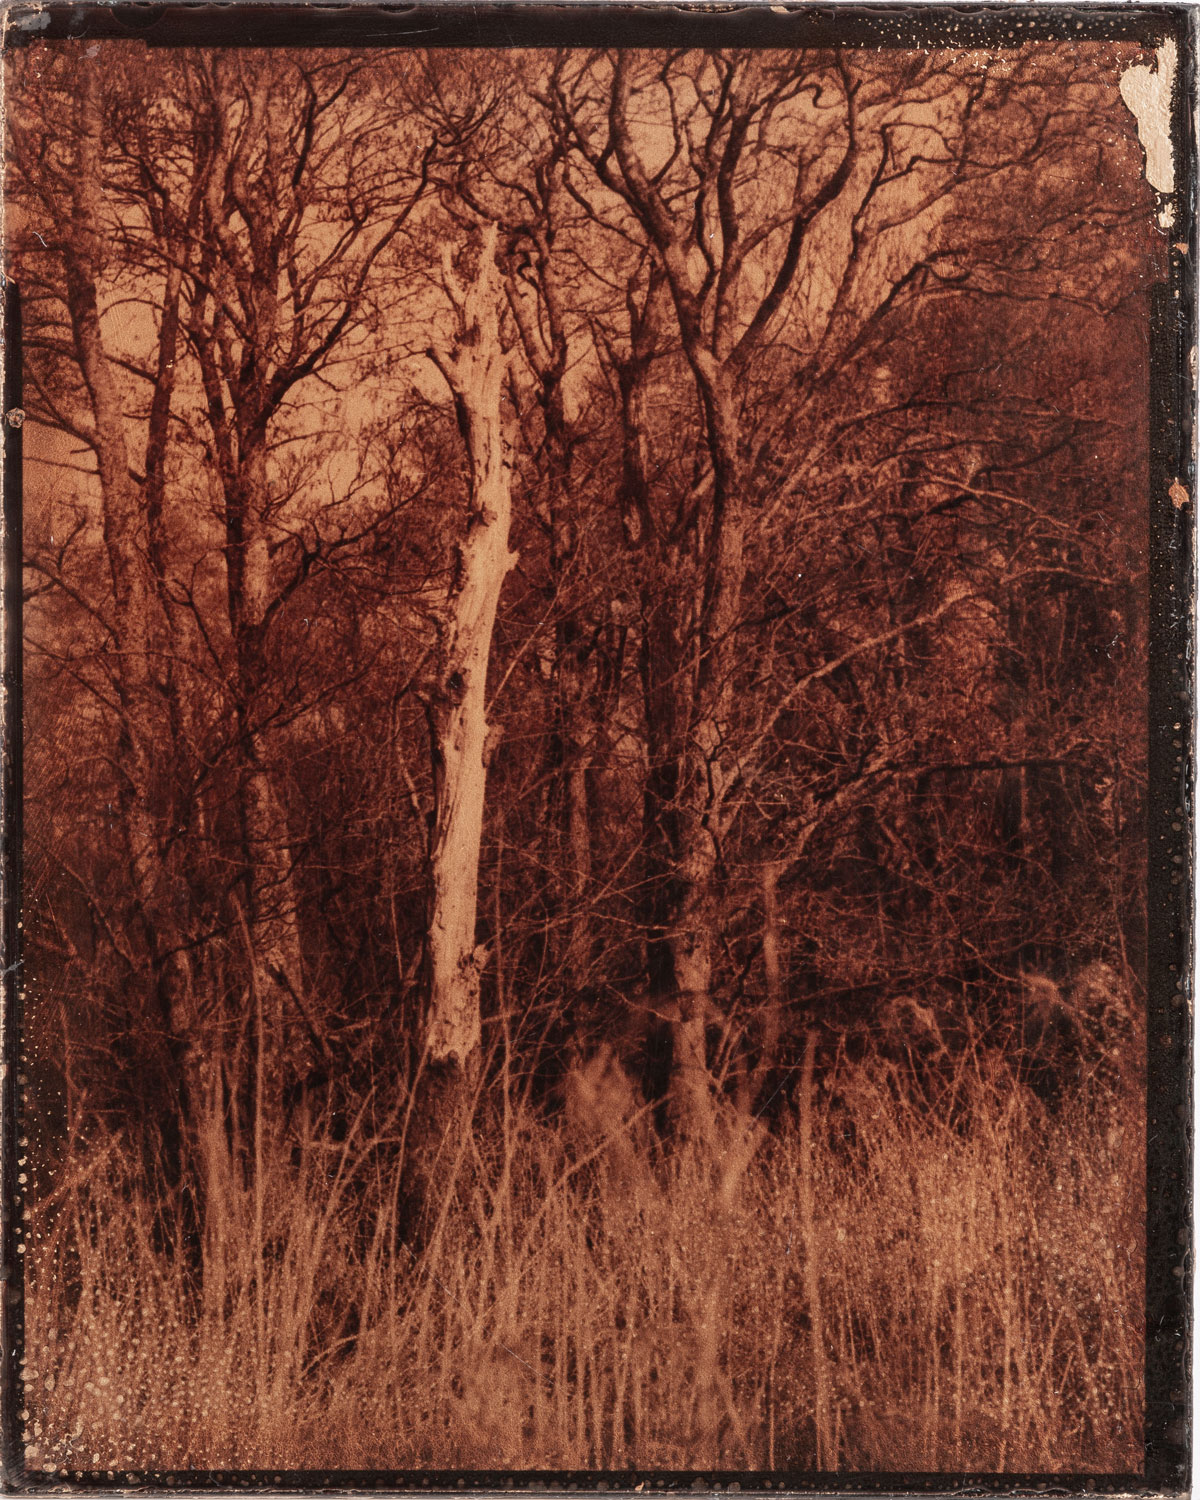
The orotone gets its brilliance from the metallic coating applied to the plate. Originally a suspension of metallic powder such as brass and copper in oil were used to coat the plate. Gold, silver and copper foils were also used. You can still use these methods, but I favour a more straight forward solution. There are many modern iridescent mediums available and a heavy body acrylic works very well and is available in a variety of colours and tones. The acrylic medium also has the advantage of being able to be removed if so desired.
Before and after coating with metallic pigment
Orotones were also known as the poor man’s Daguerreotype, elevating the traditional two-dimensional image to a higher plane, I find them truly mesmerising. The beautiful sense of depth created by the glass is intensified by the iridescent radiance of the metallic pigment, transforming the rendered subject into something quite ethereal.
Old Mill
Gates
Escape
Clare Glens
Fall na Herra
Dead Tree
Out of the Woods
Beech Tree
Connect
Peter O’Donnell lives in Limerick, Ireland and now that he’s in his fifties feels he is perfectly entitled to be cranky. You’ll find his website at peterodonnell.com


