Now it is time to talk about cave photography and how to make the exposure. Since all caves have one thing in common, total darkness, the photographer must supply all the illumination. This illumination is mostly from electronic flash. The new powerful LED video lights are also an excellent way to provide light for exposure, but the video light presents a difficult procedure for the cave photographer using film.
The question is how do I uses my electronic strobe to make an exposure. There is a very simple relationship between the flash distance and the f-stop called the Guide Number.
The Guide Number is a mathematical relationship, called a constant, and is your guide to perfect exposure. In very simple terms the Guide Number is equal to the Aperture times the Distance, or GAD.
So how do I use my electronic strobe to find a Guide Number? Here is where it gets a little tricky and a bit technical. I assure you the effort is rewarding not only for cave photography but also for general flash photography.
By using a Gray Card, as a standardized value of .50 or 50% gray, the strobe is used to duplicate the 50% gray value on the negative.

Set up a Gray Card, outside at night to simulate the darkness of the cave, and angle it to prevent it from reflecting all the light back to the camera.
Load the film you want to use in the camera and attach the camera to a tripod. Set the camera ten feet from the Gray Card, and shoot a series of exposures starting at f16: f16, f11, f8, f5.6, f4, f2.8, and f2. Start with f22 if it is on the lens. Set the strobe on full manual. Record each frame in a note book. Then move the camera to 15 feet and repeat the exposure series, and then move to 20 feet and repeat the exposures. You can attach the strobe to the camera by a sync cord or use bulb and open flash. In cave photography it is common to use the bulb setting and flash off the camera. Using a cable release with the shutter set to Bulb, the lens is locked open and the exposure is made.
The easiest way to process the data is to have a lab process the film, and ask the lab to use a transmission densitometer to read the density of the gray card in each frame. Bring your Gray Card and ask the lab to read the reflection density so the gray reading will match the readings on the negatives. Record the density of each Gray Card in your notebook. Find the 50% gray for 10 feet, 15 feet, and 20 feet.
Now multiply the f-stop that is 50% for 10, 15, and 20 feet. For example if the 50% gray for ten feet is f16, then 16 times 10 feet gives a Guide Number of 160. The Guide Number value for 15 and 20 feet should also be 160.
It is necessary to repeat this test for each film you use, as the Guide Number will be different for each film.
Now, I will explain how I use the Guide Number. In this photograph of a bat cave in far west Texas, I used the Hasselblad Super Wide camera. I set the camera on the tripod and stood to the right, so I was able to see all the way down the passage. I angled the camera to see more of the left wall than the right wall, but this is not apparent in the picture. The focus is set for 50 feet; I used a Press 25 clear flashbulb with a Guide Number of 320, using Tri-X rated at ISO 400. Developed in D-76. diluted 1:1, at 60 degrees for ten minutes.
The camera was set up around 30 feet from the first caver. Using GAD, Guide Number equals Aperture times Distance, I used Aperture is equal to Guide Number divided by Distance. In my case 320 divided by 30 feet was 10.66 or f11. At 50 feet and f11, the lens is in focus from 6 feet to infinity.
Since the caver closest to the camera is standing close to the wall, I instructed him to angle the flash away from the wall and toward the second caver. I used three flashes to expose the frame. I set the lens to Bulb and opened the shutter. I set off one flash from the camera position and the other two cavers set off one flash.

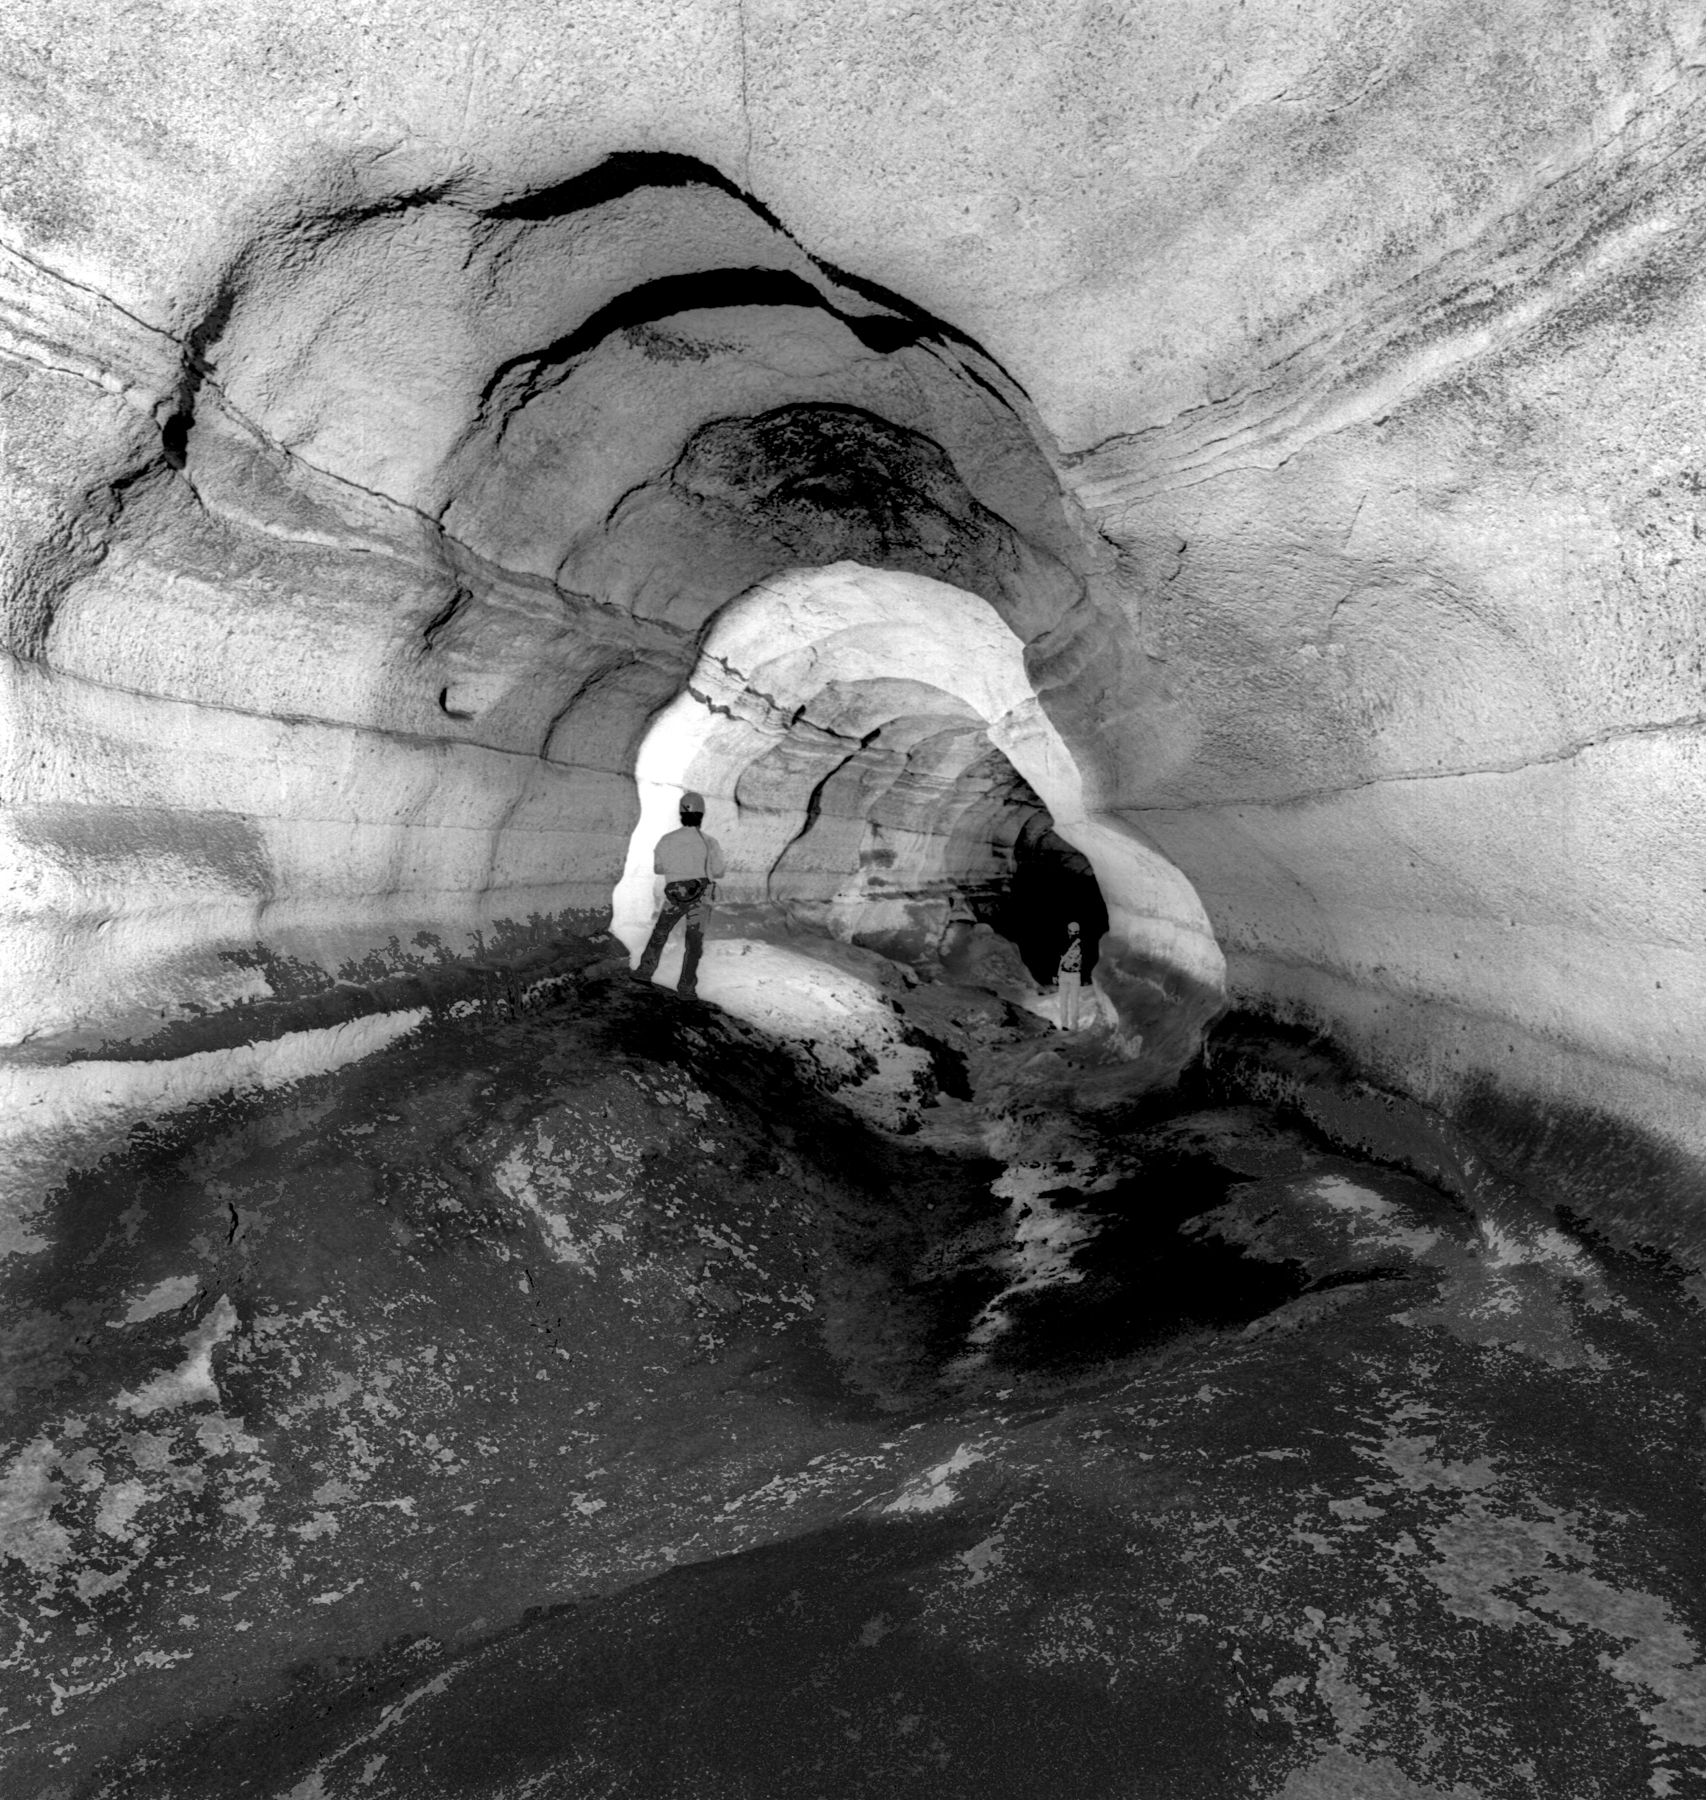
This image presented a different approach and was more difficult. I used the Hasselblad SWC to capture the entire passage. Since the chamber is large, and slippery from the mud, is was difficult to move around. I set up the camera in the center of the room and positioned the caver off to one side. The film was Kodak Professional 400NC and lab processed.
Using a Press 25 Blub flash bulb with a Guide Number of 280, and using 40 feet as the distance, the aperture was f8. At f8 the lens was in focus 9 feet to infinity.
I set the lens to Bulb. and opened the shutter. Since the cave is total darkness, there is no exposure until the flashbulbs are set off. I set off one bulb at the camera position and the caver in the distance set off one flash. The wall in front of the camera looks over exposed in the image but the detail is in the negative and makes a perfect print.

This cave is Kickapoo Cave and is now a commercial cave that can be visited by anyone. The cave is located north of Brackettville, Texas, and is well worth a visit. Brackettville also has Fort Clark with a spring fed swimming pool and a fantastic museum.
This image inside Kickapoo Cave was shot on 35mm film using a 28mm lens. The film was Kodak Gold 400 and lab processed. I used two Press 25 Blue Flashbulbs for the exposure. I used a distance of 50 feet; I was 50 feet from the caver in the red pants, who was 50 feet from the caver standing on the formation. It is critical to keep the flash distance for each person the same. I set the lens to f5.6 and set the shutter to Bulb.
I opened the shutter and set off one flash at the camera, and the cavers set off one flash. The flashes resulted in a very good exposure with good coverage in the very large room.
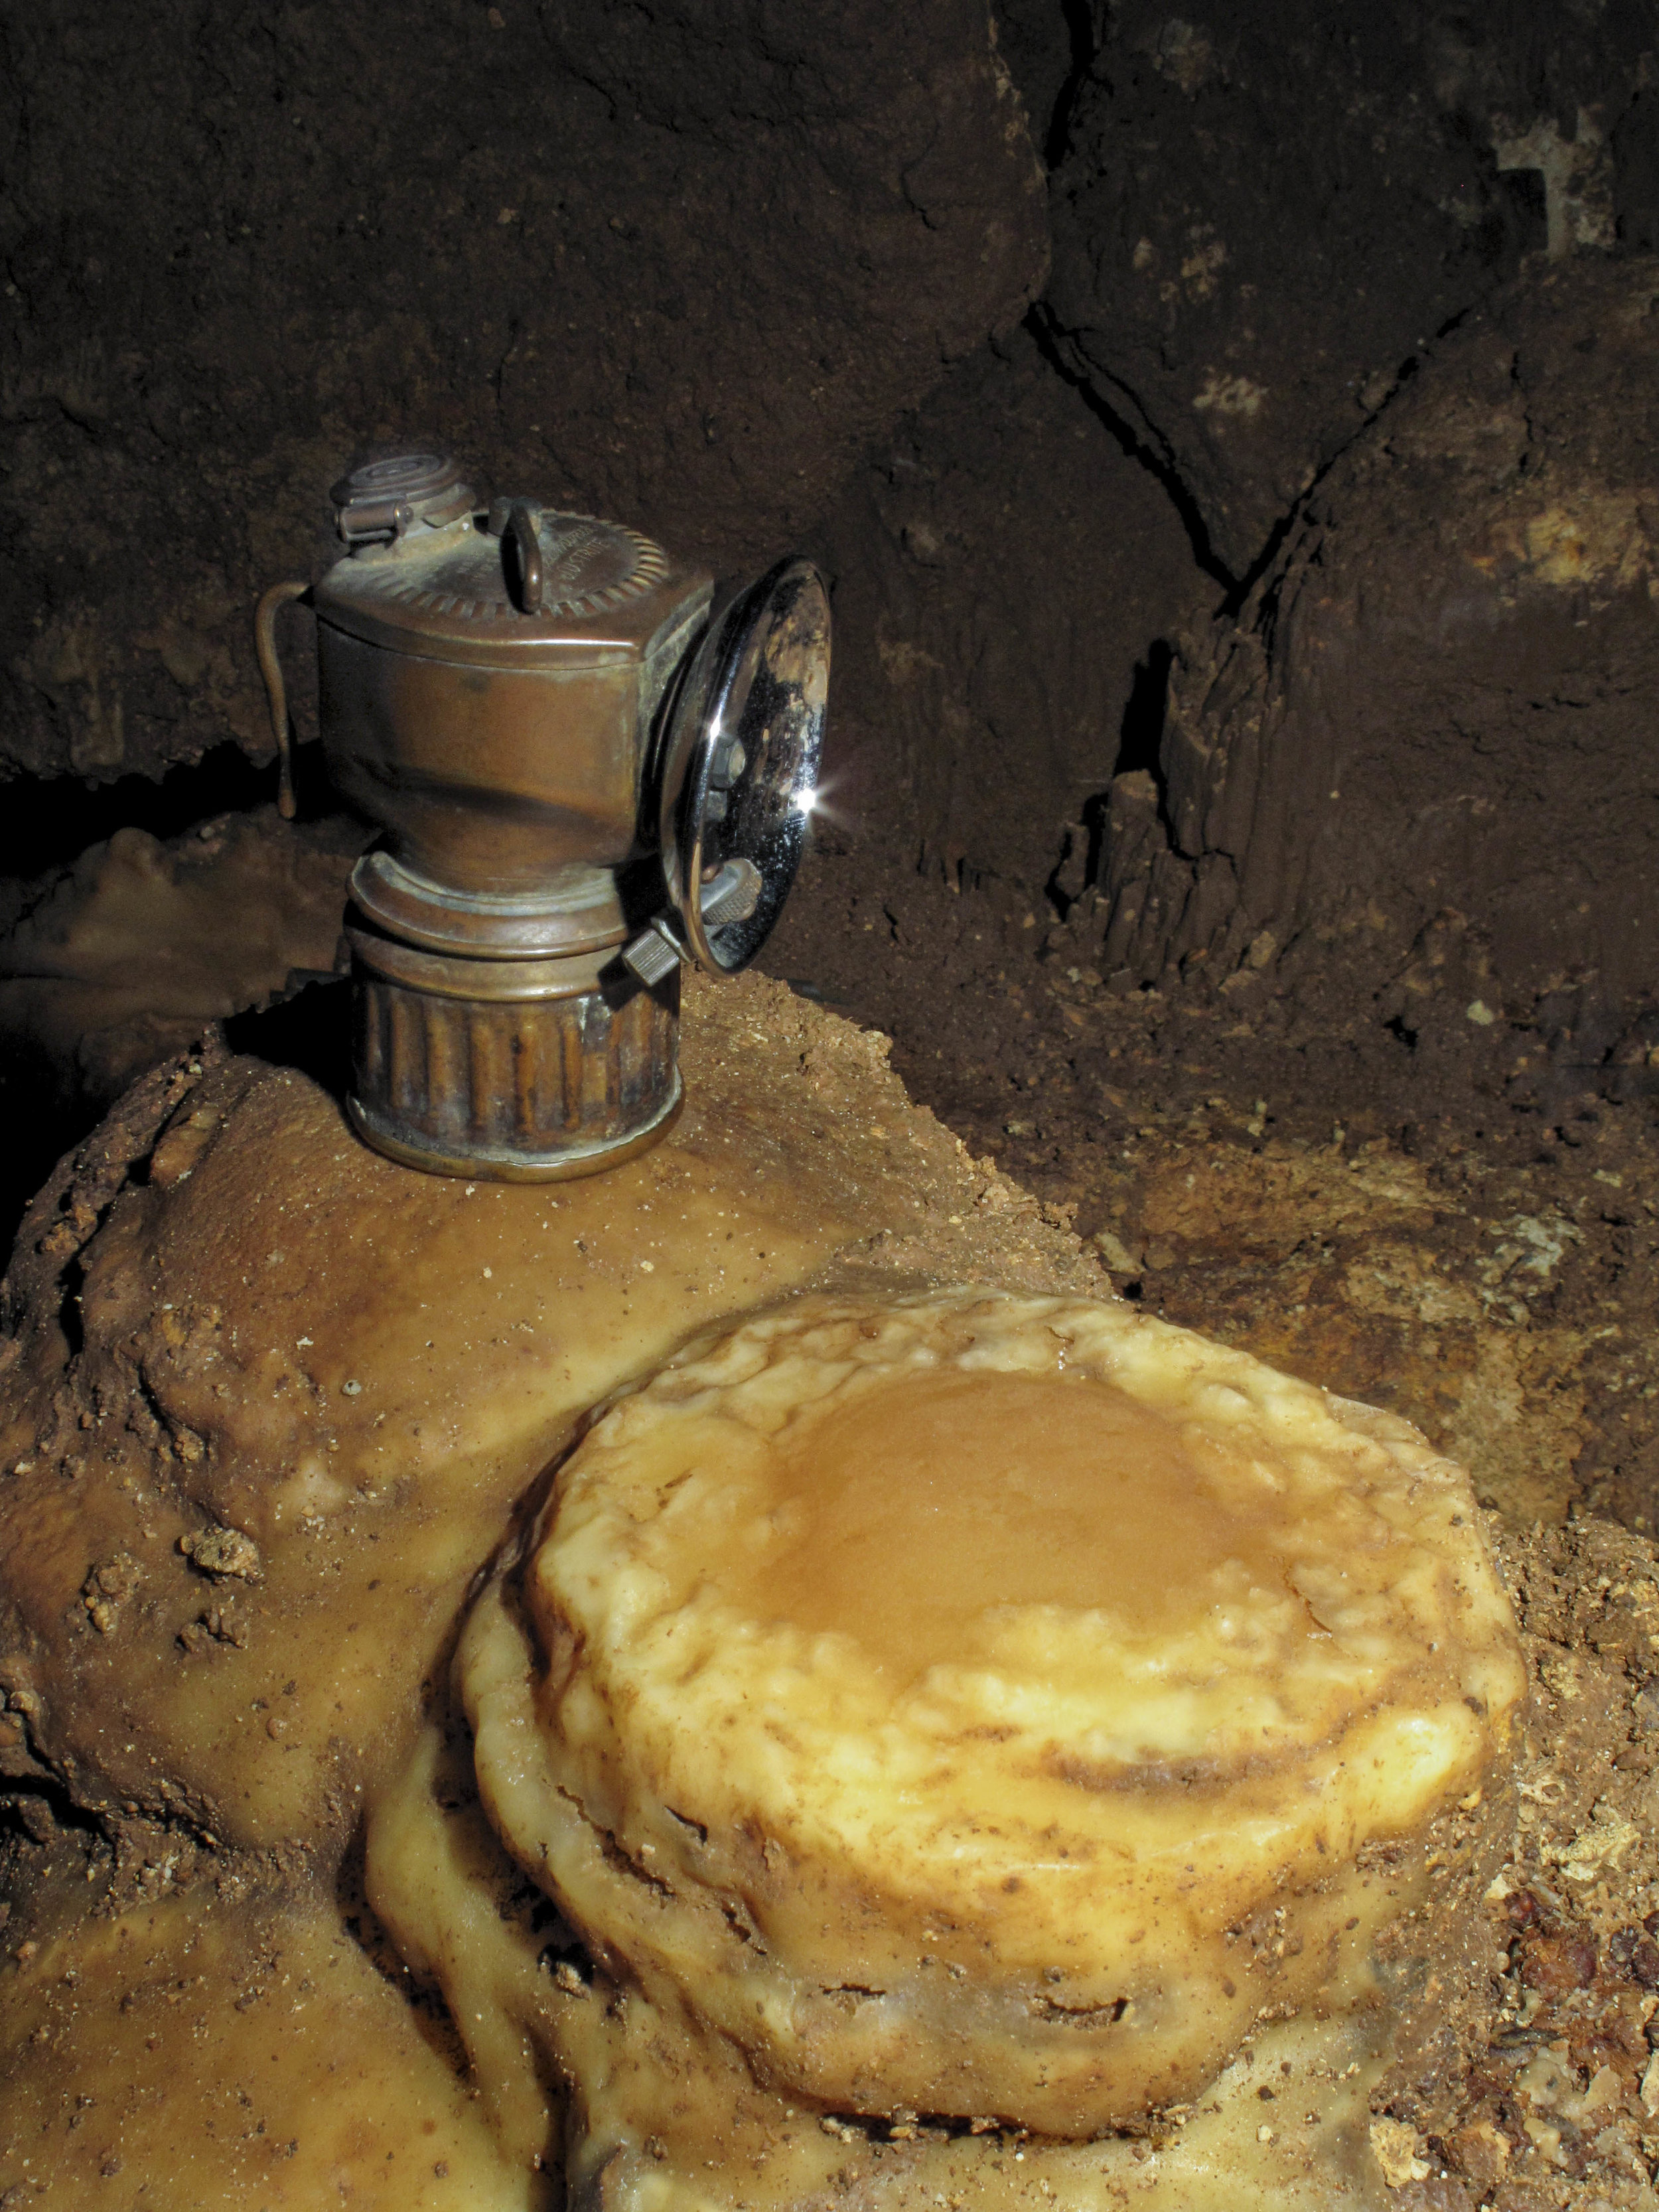
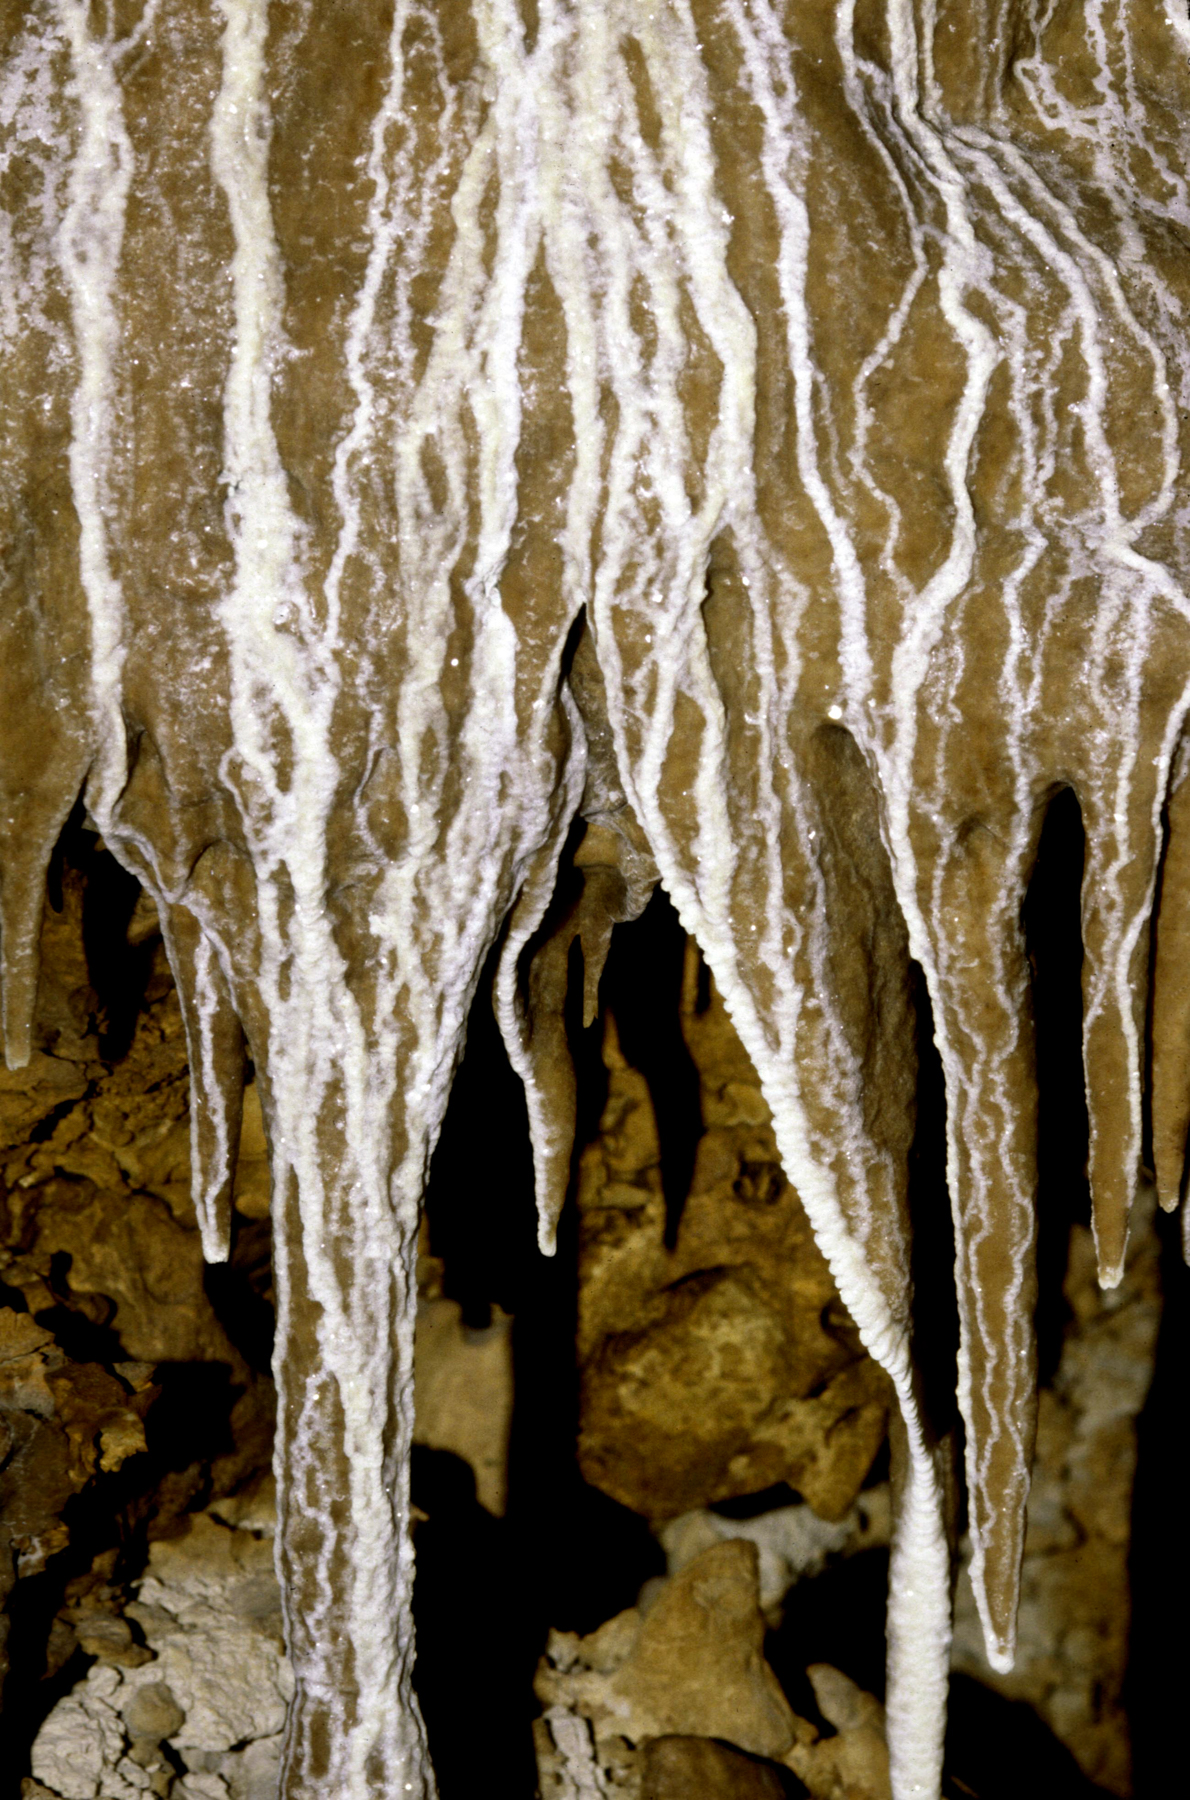
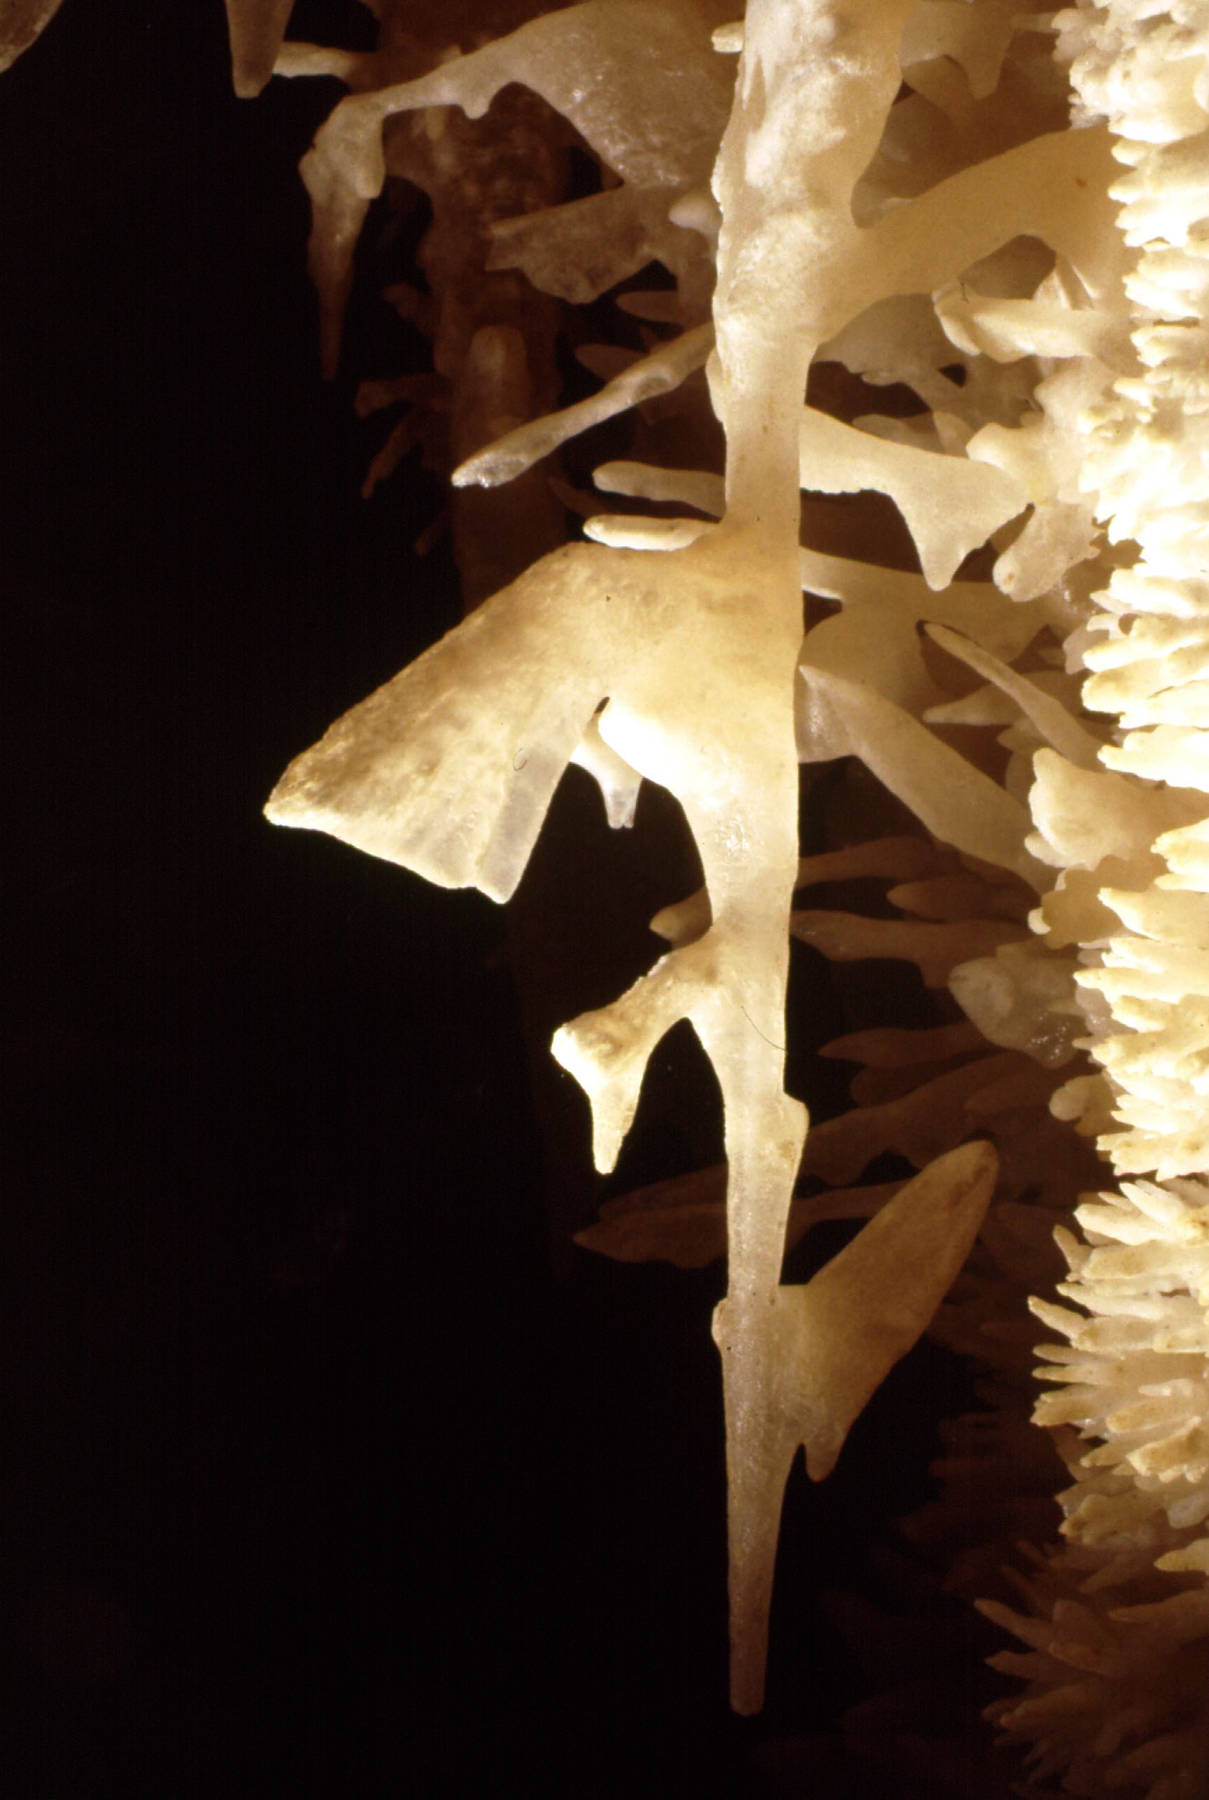
These cave formations were exposed using a 35mm camera with the flash on a coiled TTL cord to remove the flash off the camera body. Using the Guide Number determined by testing, that number was 130 using ISO 400 color negative film.
Connect
Film and caving enthusiast James Jasek is based in Waco, Texas. Questions? He would love to hear from you.