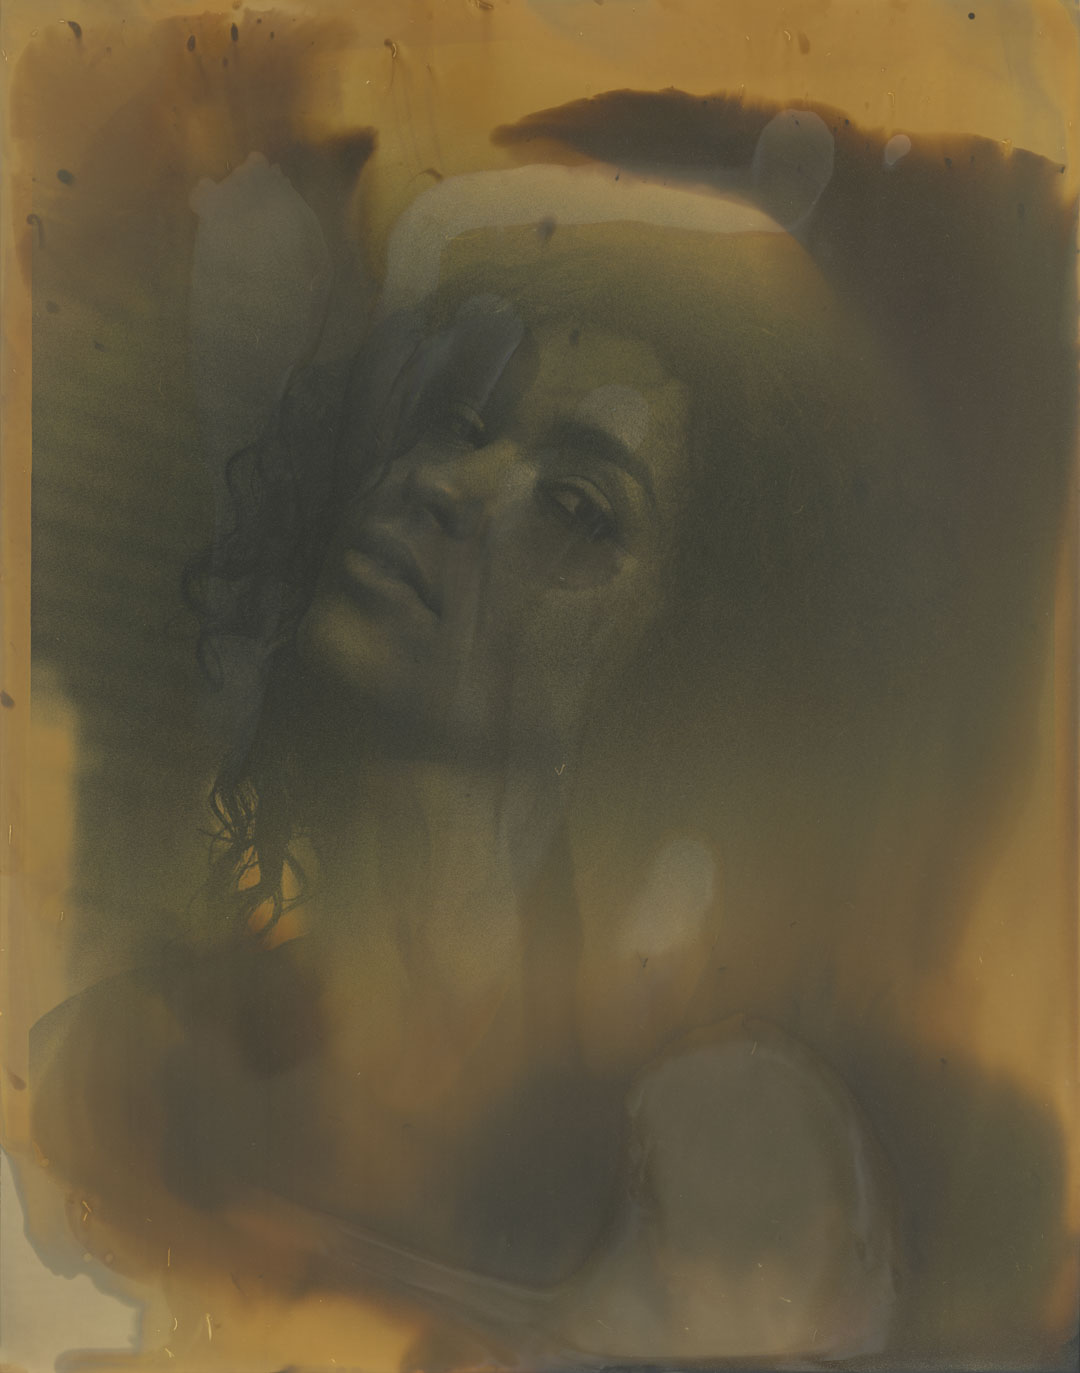
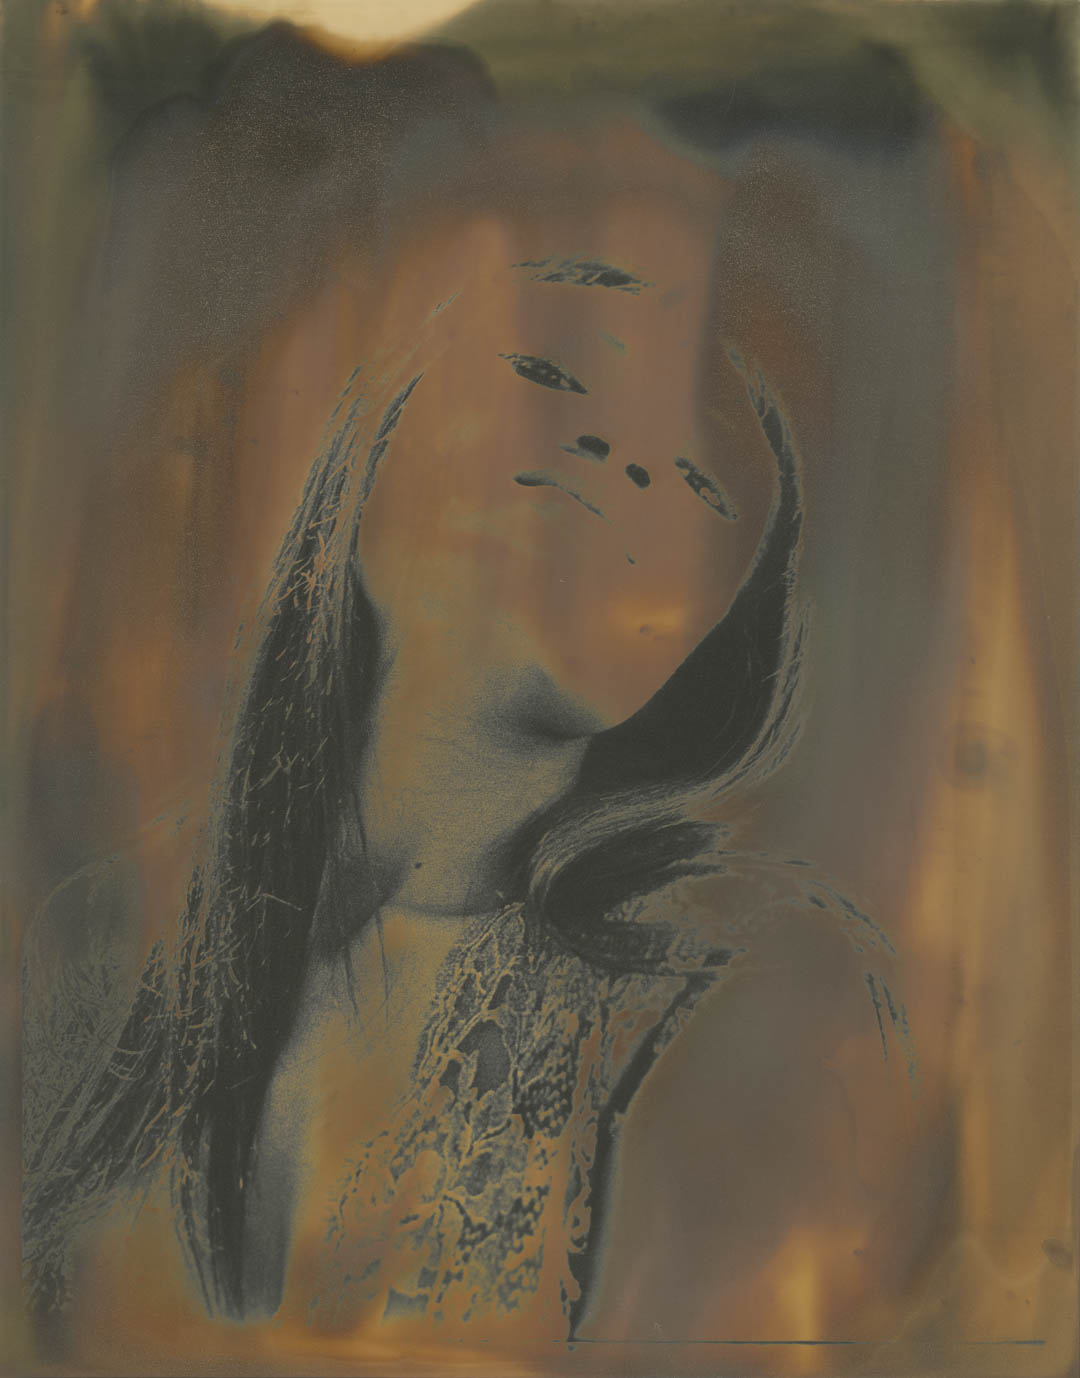
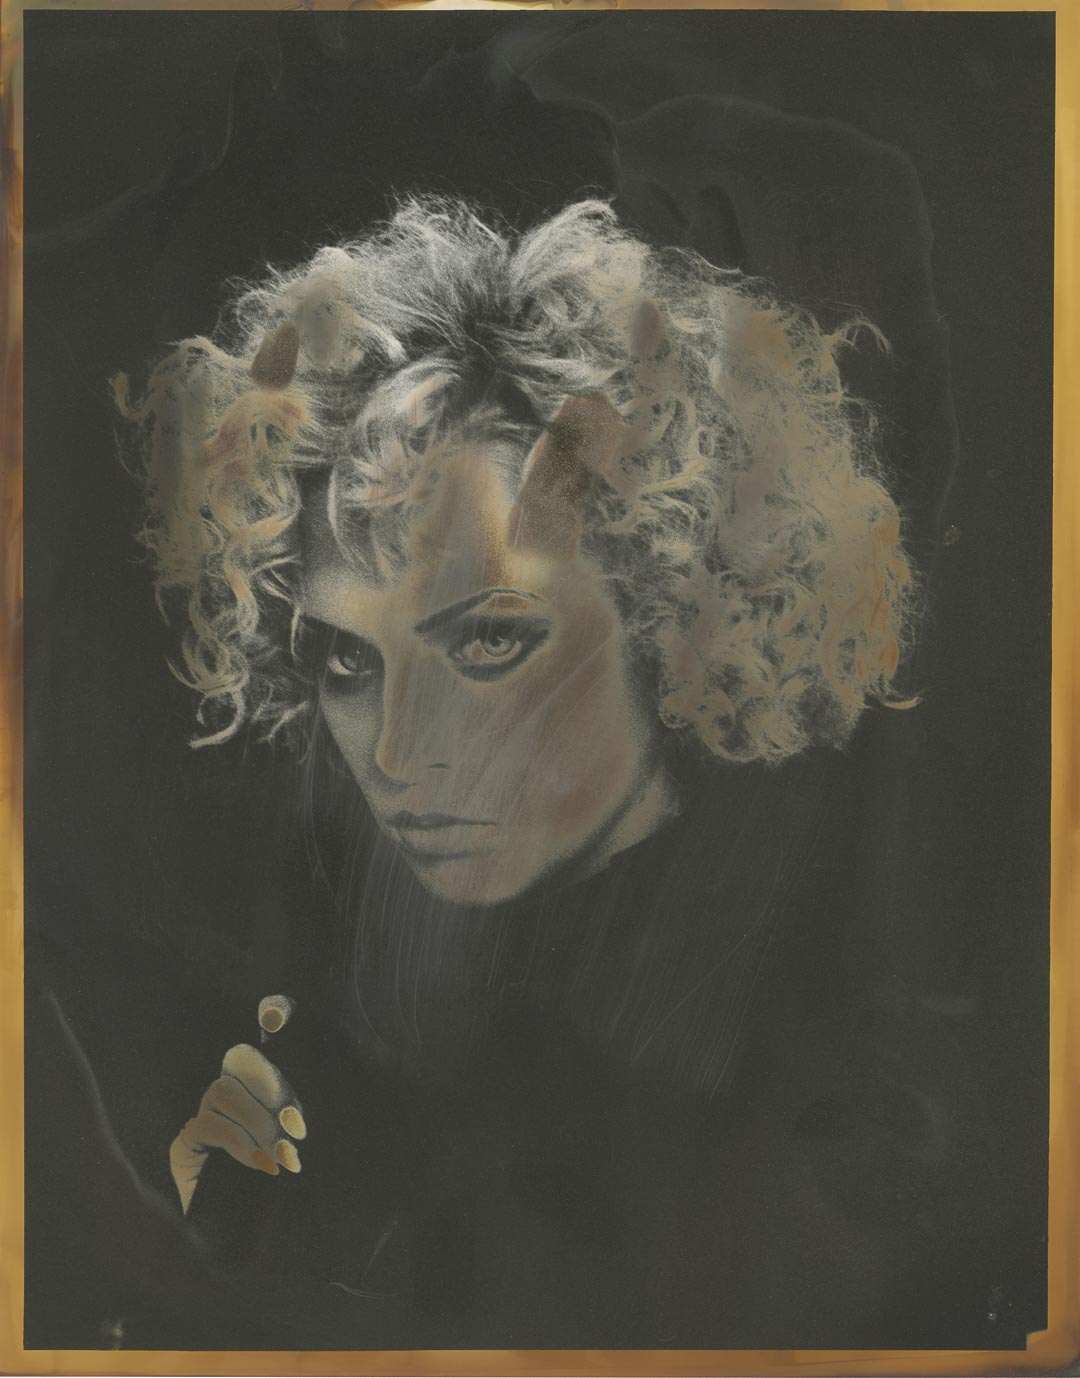
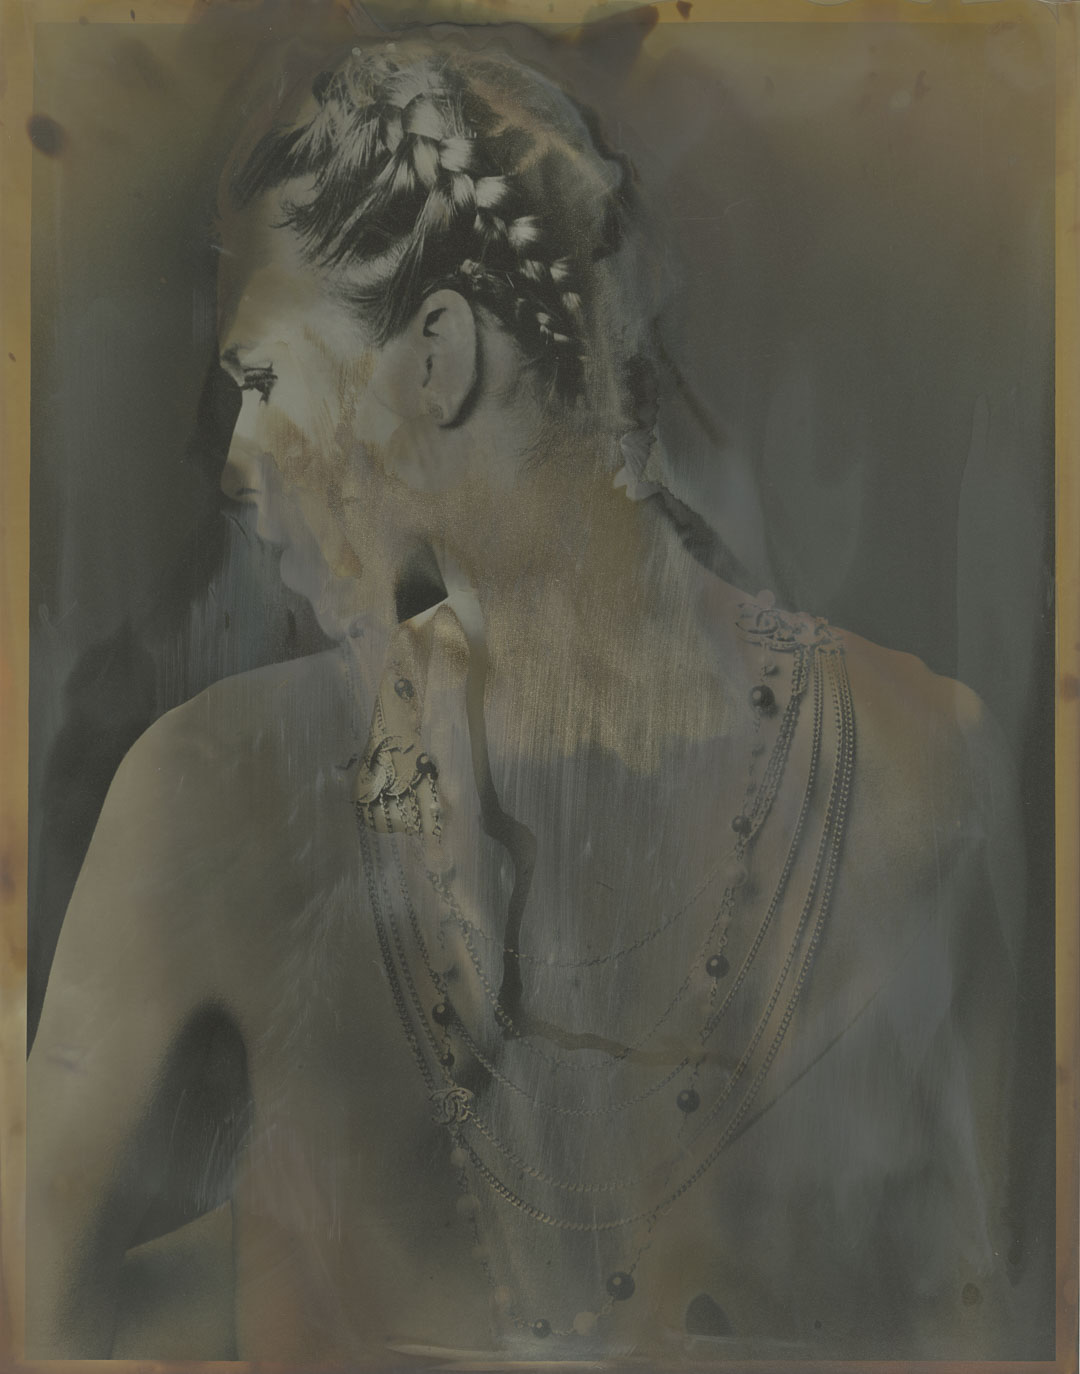
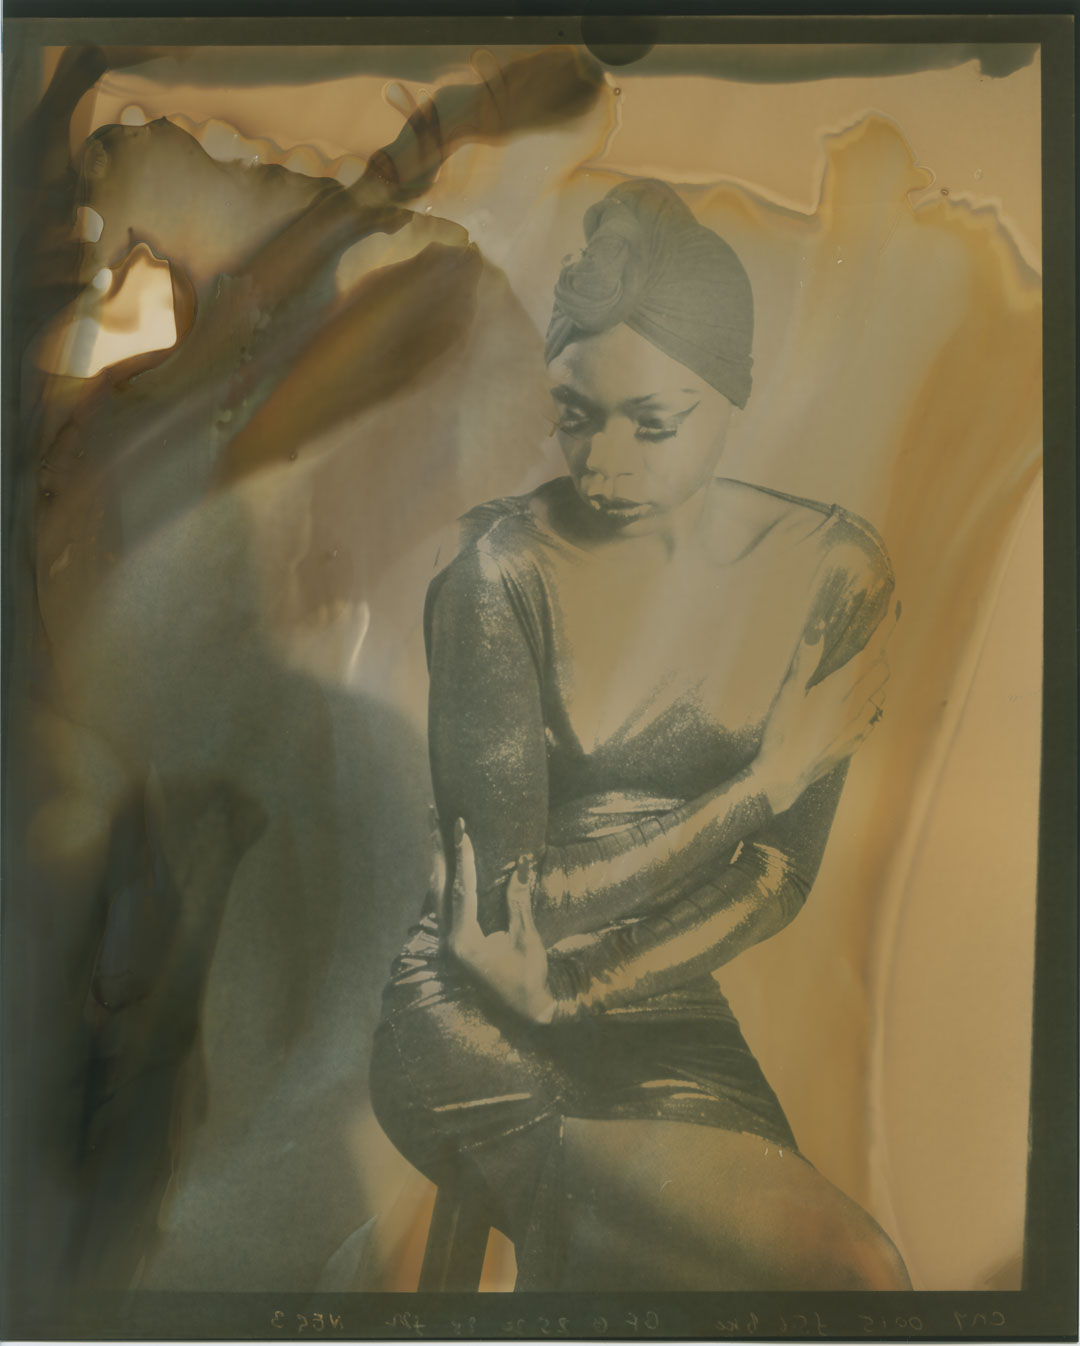
There is an undeniable wow factor about any photograph made with alternative processes. There are a lot of talented people out there braving the toxic chemicals, tricky working conditions and uncertainty of results all to make their little piece of magic. It was a club I just had to join, so I’ve now got a cabinet full of nasty chemicals, brushes, pipettes, bottles and more exotic papers than a Japanese calligrapher!
One of the techniques I stumbled across has made a real impact on my style of work; it’s called the “Chromoskedasic Sabbatier (or solarization) process”. I know, it’s a bit of a mouthful, but it’s almost harder to pronounce than it is to apply. Almost.
Fundamentally it relies on bringing out the latent silver in ordinary black and white photographic paper via certain chemicals, and these silver particles then scattering light in wonderful ways due to a physical phenomenon called the “Mie Effect”. I have a physics degree and I still don’t really get it, so I think I’ll leave the science for another day!
I’m not intending for this to be a cooking recipe, there are resources online that are much better written than anything I could manage and I include references below. I’ll limit myself to explaining the basic principles. The process works on ordinary black and white paper (Ilford Warmtone seems to be one of the best) and typically is applied to freshly developed but not yet fixed prints. It relies on the action of two chemicals, an ‘Activator’ and a ‘Stabiliser’ and most importantly the action of light. The application of these chemicals, whether in turn or as a mixture, will slowly magically bring out unexpected colours in the print, especially from the areas with more latent silver (i.e. the light areas). The stabilizer will stop the print from developing to total black and subtle colours appear when exposed to light; yellows, pinks and magenta's will start to form. The activator will then create darker rusty brown like colours. The further application of ordinary developer will then cause mirror like silvering on the surface that will make it shimmer and shine in surprising ways. The activator and stabilizer can also all be applied at the same time!
What I love about this process is that it surprises me every time, there are so many factors that can affect the outcome that experimentation is always a marvel, and the results are always unique as no two prints are ever alike. The amount and type of light has an impact, the strength of the chemicals has an impact, the order in which they are applied, sometimes it even feels like the weather has an impact! It’s truly magical to see these colours form on black and white paper. The colours do tend to fade in the final fixing process if using an ordinary black and white fixer, a bit like Lumen prints, I have therefore taken to stabilise them I an week Sodium Thiocyanate solution.
Now a word about my chosen subject matter: I like to apply these on portraits, and more specifically portraits from some of my fashion shoots (although not exclusively). I feel this purely chemical, intrinsically random type of beauty contrasts the more conventional type of beauty that is fashion image is ‘supposed’ to portray. I like this conflict, I like that it can in a way symbolise the degradation of beauty, and it flies gloriously in the face of the conventional beauty canons that are often stifling and unrealistic. Just to clarify, I don’t do fashion photography in a particularly commercial or conventional way, but there is still a certain inescapability about it’s attempt to portray an ideal of beauty. This process is a release valve, seeking a different, chemical sort of beauty. I compare this process to the beauty of overgrown vegetation on a derelict building. Everyone’s beauty eventually crumbles, like a derelict building, but who’s to say that beauty can’t be transferred to another aesthetic plane?
A Technical Post Scriptum:
I would really encourage anyone to try this technique and have fun with it, the chemicals aren’t amongst the worst to deal with in the realm of alternative processes. I would strongly advise to work in a well ventilated area as the chemicals when mixed give off a quite pungent smell of ammonia that can be overpowering. The brand names can be found in the references below. They are easily available in the US however if Europe there are equivalent chemicals supplied by German chemical company Moersch. (I get no kind of benefit from mentioning them; simply I haven’t found any other supplier in Europe.) The silvering effect is one of the beautiful properties of this process, it has only one drawback: it doesn’t scan well. Areas that are silvered out often come out black or a dull gray as opposed to shiny silver, I have tried photographing prints instead of scanning them but I’ve not been happy with results here either. All the better reason for trying it out and seeing it in the flesh!
References:
http://phototechmag.com/chromoskedasic-printing-revisited/
http://www.moersch-photochemie.de/content/shop/chromo/157/chromoskedasic_sabattier_technique/lang:en
http://www.nature.com/scientificamerican/journal/v265/n5/full/scientificamerican1191-80.html (registration required)
Connect
Film photographer Ralph Whitehead seeks to portray a sense of atmosphere in his work. See more by him on his website and his Instagram.


